 Pin It
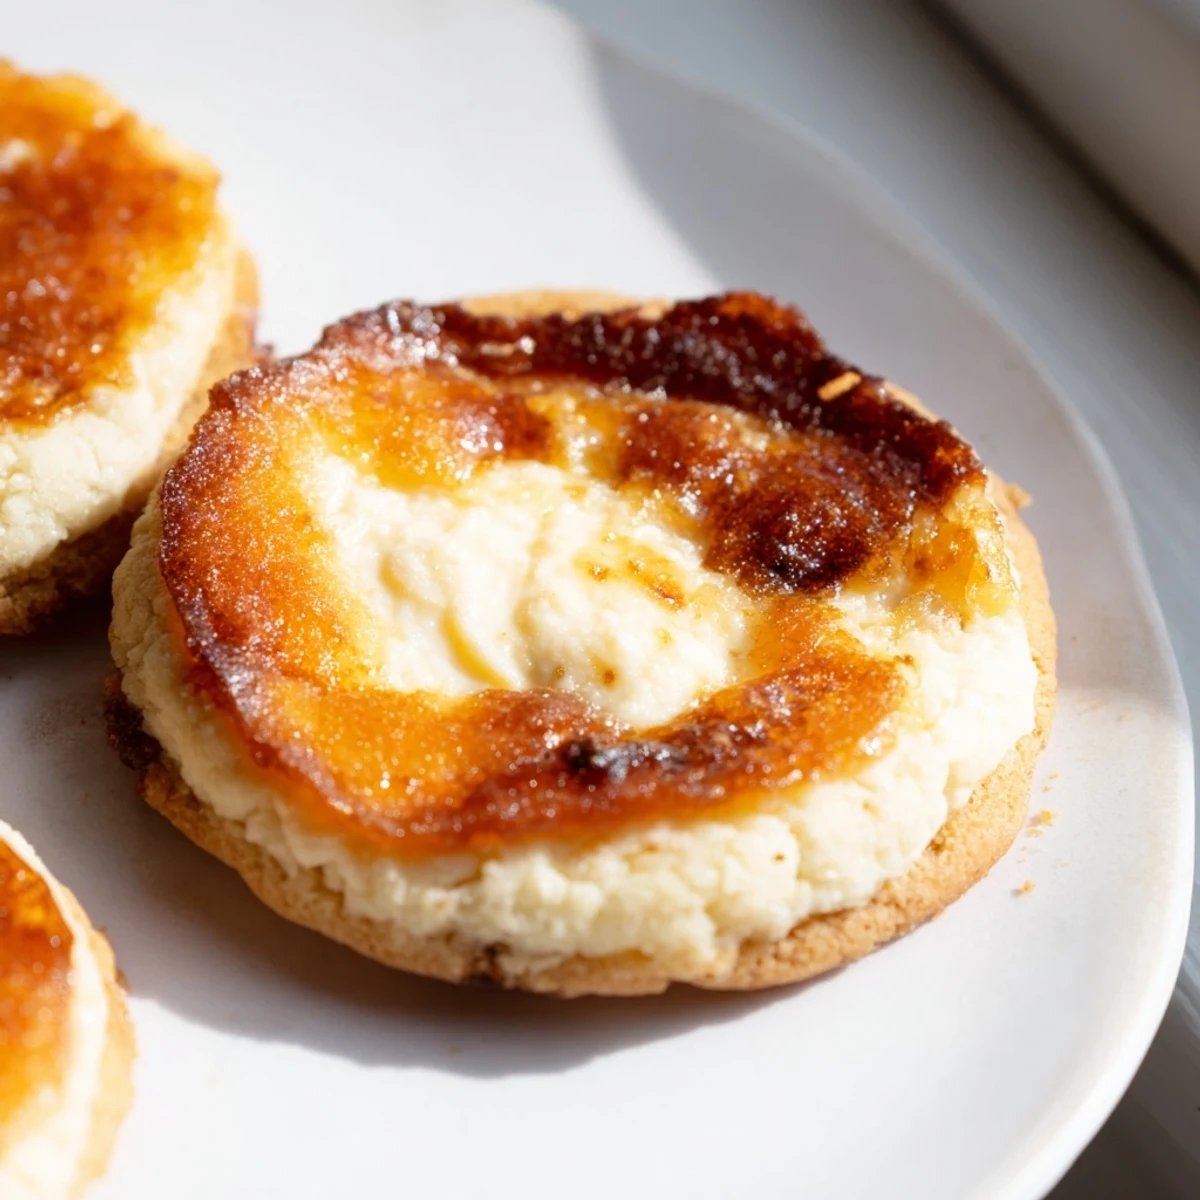
 These soft baked cookies capture the essence of classic French crème brûlée in a handheld treat. Each cookie features a tender vanilla bean dough wrapped around a smooth cream cheese filling, topped with a layer of caramelized sugar that creates that signature crackly crust. The dough comes together quickly with pantry staples, while the rich filling adds luxurious creaminess. A kitchen torch creates the perfect brûlée finish, though your oven broiler works as an alternative.
The result combines the textures you love—soft, chewy cookie edges, a velvety center, and that satisfying crunch of burnt sugar. With 18 cookies per batch and just 40 minutes total time, these elegant treats are perfect for entertaining or an indulgent afternoon snack.
The smell of burnt sugar always pulls me back to this tiny bistro in Paris where I first watched a waiter crack through caramelized sugar with the back of a spoon. That sound stuck with me for years, haunting my kitchen experiments until I figured out how to capture it in cookie form. Now these little discs appear on my counter whenever I need something that feels fancy but only takes an afternoon.
Last winter my sister came over during that bleak stretch between holidays when everyone needs a pick-me-up. I pulled these warm from the oven, still soft in the centers, and handed her the kitchen torch. She torched every single cookie with more enthusiasm than skill, leaving some patches dark and others pale, but we ate them standing up anyway and agreed uneven caramel was somehow better.
Ingredients
- All-purpose flour: The structure here matters since these cookies need to hold a creamy center without collapsing
- Baking soda and salt: Just enough lift and balance to keep the dough from spreading too thin
- Unsalted butter: Softened properly makes all the difference between a tender cookie and something that feels like a rock
- Granulated sugar: Cream this thoroughly with the butter until it looks pale and fluffy, that air creates the soft texture
- Egg yolks: Using only yolks keeps these cookies rich and tender while helping them hold their shape
- Pure vanilla extract: Do not skip or substitute here, this flavor carries the whole recipe
- Sour cream: The secret ingredient that adds tang and keeps the cookie dough soft and pliable
- Cream cheese: Make sure this is truly softened or your filling will turn lumpy instead of silky smooth
- Vanilla bean paste: Those tiny black specks look beautiful and taste more intense than plain extract
- Extra sugar for topping: This needs to be an even, thin layer or it will not caramelize properly
Instructions
- Prep your oven and pans:
- Get everything ready before you start mixing because once that dough comes together you will want to move quickly
- Whisk the dry ingredients:
- Flour, baking soda, and salt need to be evenly combined so you do not overmix later trying to distribute them
- Cream the butter and sugar:
- Beat this mixture longer than you think necessary, until it looks pale and feels like whipped cream
- Add the wet ingredients:
- Egg yolks, vanilla, and sour cream should be mixed in completely before you touch the flour
- Combine the dough:
- Gradually fold in the dry ingredients and stop the moment the flour streaks disappear
- Make the filling:
- Beat the cream cheese, sugar, and vanilla paste until no lumps remain and it looks like satin
- Fill the cookies:
- Flatten each dough portion, add a dollop of filling, and pinch the edges closed like a tiny dumpling
- Bake until set:
- The edges should look firm but the centers will still feel soft, that is exactly right
- Create the brûlée:
- Let them cool completely, sprinkle sugar evenly, and torch until you hear that satisfying crackle
 Pin It
 My neighbor smelled these through the open window last spring and knocked on my door with an empty plate and hopeful expression. We ate them on her porch while she told me about her attempts to make crème brûlée as a newlywed, how she had burned three custards before her husband gently suggested maybe they should just order dessert instead.
Making Ahead
The dough balls freeze beautifully and can go straight from freezer to oven, just add another minute or two to the baking time. I keep a stash in the freezer for those nights when something sweet is needed but ambition is low.
Getting That Perfect Crackle
The sugar layer needs to be thin enough to caramelize quickly but thick enough to form a proper shell. I hold the kitchen torch about two inches above the cookie and move it constantly until the sugar turns amber and bubbles.
Serving Ideas
These need nothing else but they become something entirely different when served alongside fresh berries or a scoop of vanilla ice cream. The contrast between hot caramel and cold cream makes people forget their table manners.
- Sprinkle flaky sea salt immediately after torching for a salted caramel version
- These are best eaten the same day but the unfilled cookies keep well in an airtight container
- Bring the filling to room temperature before filling to prevent it from breaking the dough
 Pin It
 Every time I make these now, I think about how the simplest pleasures—burnt sugar, warm cookies, a kitchen full of people—are often the ones that stick with us longest.
Recipe FAQs
- → Can I make the dough ahead of time?
-
Yes, the cookie dough can be prepared and refrigerated for up to 24 hours before baking. Let it soften slightly at room temperature for easier filling and shaping.
- → What if I don't have a kitchen torch?
-
You can caramelize the sugar under your oven broiler. Place cookies on a baking sheet and broil for 1-2 minutes, watching closely to prevent burning. The sugar will bubble and brown quickly.
- → How should I store these cookies?
-
Store in an airtight container at room temperature for up to 3 days. Note that the caramelized topping may soften slightly over time. For best texture, add the sugar topping just before serving.
- → Can I freeze the finished cookies?
-
It's best to freeze the unfilled cookie dough balls. Fill and bake fresh when ready to enjoy. The texture of the brûlée topping doesn't freeze well, so torch just before serving.
- → What's the difference between vanilla extract and vanilla bean paste?
-
Vanilla bean paste contains actual vanilla bean seeds, providing visible specks and more intense flavor. Extract works perfectly fine—use 1 teaspoon extract in place of the paste.
- → Why do I need to chill the dough?
-
This dough doesn't require chilling before baking, but if your kitchen is warm or the dough feels sticky, 30 minutes in the refrigerator makes it easier to handle and fill without spreading too much.
