 Pin It
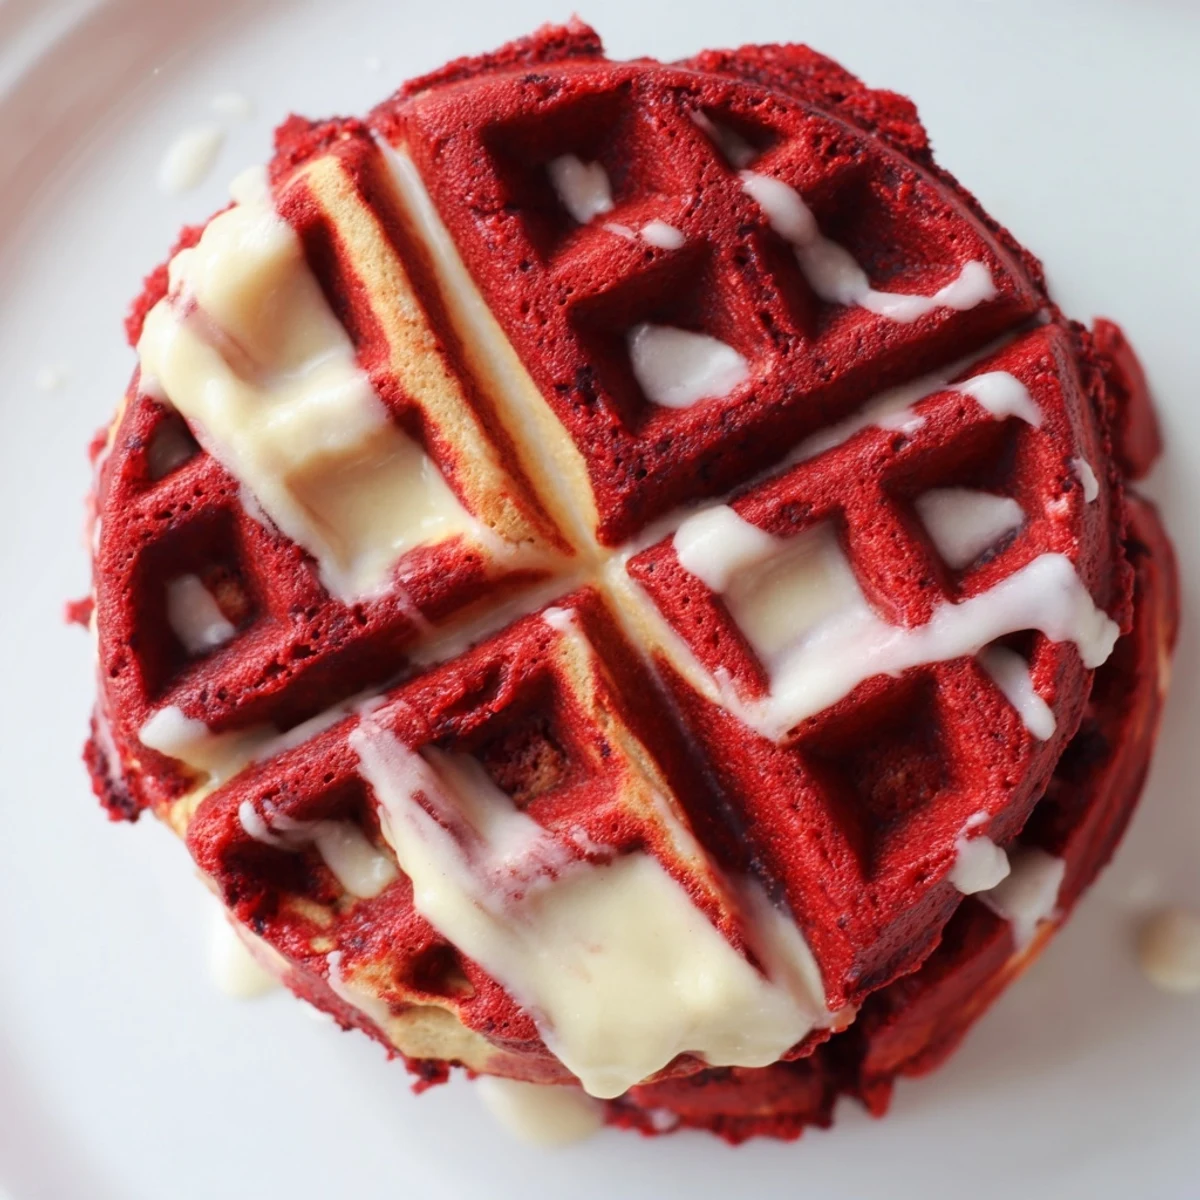
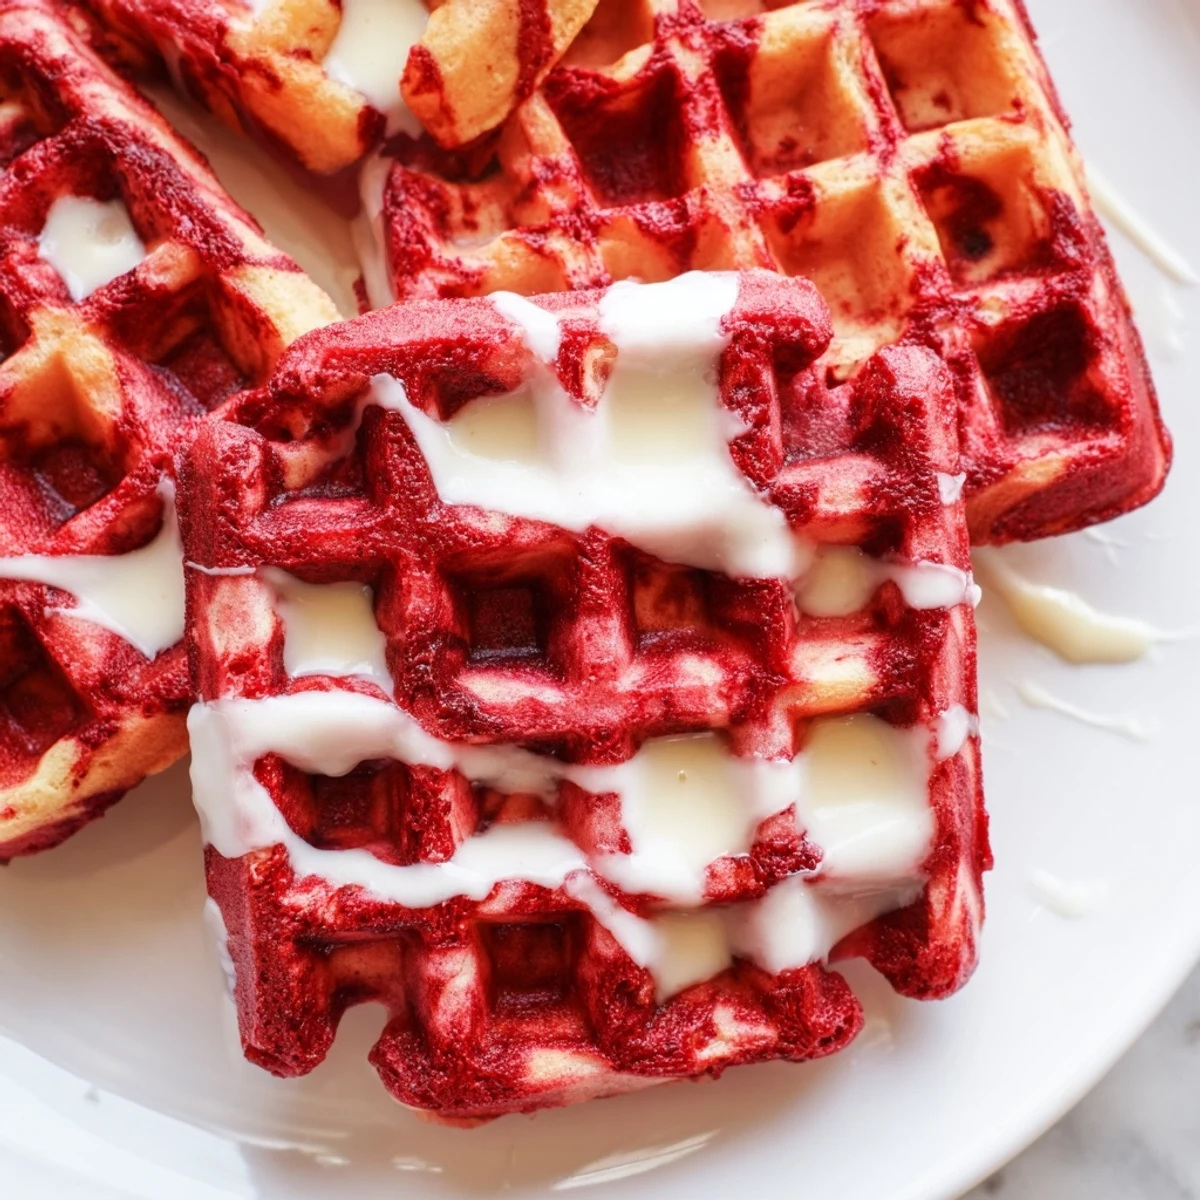
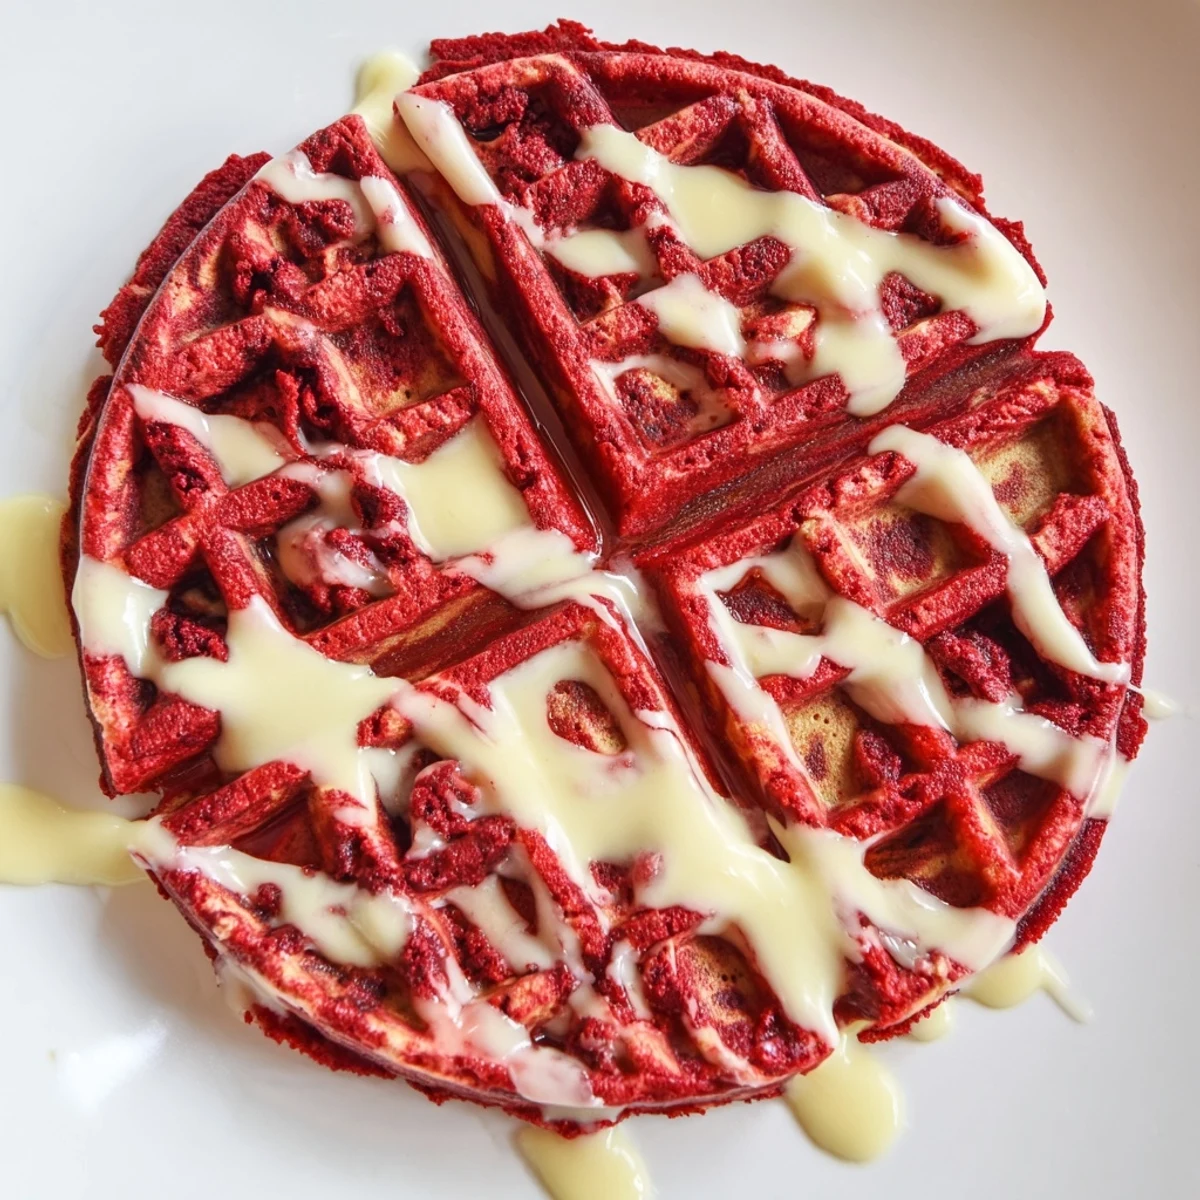
 These eye-catching waffles combine classic vanilla batter with rich red velvet cocoa-infused dough, swirled together for a stunning marbled appearance. The buttermilk base ensures light, fluffy interiors while creating perfectly crisp golden exteriors in your waffle iron. Each batch takes just 3-5 minutes to cook, yielding four generous servings.
The swirling technique is simple yet impressive—alternate spoonfuls of each colored batter onto your preheated iron, then gently marble with a chopstick or knife. Top them with cream cheese glaze, fresh berries, whipped cream, or pure maple syrup for an indulgent finish. Substitute Greek yogurt for buttermilk if needed, or swap half the all-purpose flour for whole wheat for a lighter variation.
My sister showed up at my door last February with a bottle of red food coloring and announced we were making waffles. The snow was falling outside, and something about those bright red swirls against the white plates felt like exactly what we needed.
We made three batches that morning, trying different swirl patterns until we found something that looked like marble instead of a mess. My kitchen counter was covered in flour, but those first waffles coming off the iron were worth every minute of cleanup.
Ingredients
- All purpose flour: The protein structure here holds up those swirls without getting tough
- Buttermilk: Room temperature buttermilk creates the most tender crumb and activates the baking soda perfectly
- Unsweetened cocoa powder: Just enough to deepen the red without making these taste like chocolate waffles
- Red food coloring: Gel coloring works best for that vibrant red without thinning your batter
- Vanilla extract: Pure vanilla in the plain batter balances the cocoa and buttermilk tang
Instructions
- Mix your dry base:
- Whisk the flour, sugar, baking powder, baking soda, and salt in a large bowl until everything is evenly distributed
- Combine the wet ingredients:
- In a separate bowl, whisk the buttermilk, eggs, melted butter, and vanilla until the mixture is smooth and slightly thickened
- Bring it together gently:
- Fold the wet mixture into the dry ingredients just until combined, leaving some small lumps, and divide the batter evenly between two bowls
- Create your red velvet portion:
- Stir the cocoa powder and red food coloring into one bowl until completely blended and uniformly red
- Preheat your waffle iron:
- Get your iron nice and hot according to the manufacturers directions, then lightly grease with oil or nonstick spray
- Make the marble magic:
- Drop alternating spoonfuls of red and vanilla batters onto the hot iron, then use a chopstick or butter knife to gently swirl just once or twice for marble patterns
- Cook to golden perfection:
- Close the lid and let each batch cook for about 3 to 5 minutes until waffles are crisp and set
- Serve them while hot:
- Plate immediately with cream cheese glaze, maple syrup, or fresh berries
 Pin It
 These became my go to birthday breakfast request after that snowy morning. Theres something about cutting into a waffle and seeing those swirls that makes even a regular Tuesday feel worth celebrating.
Getting That Perfect Swirl
The trick is dollopping the batters in alternating circles rather than random spots, then giving one gentle swirl through the center. Too much swirling turns the whole thing muddy pink, which still tastes great but loses the marble effect entirely.
Freezing For Later
These freeze beautifully and reheat in the toaster like a dream. I always double the batch when making them for company, then stash the extras for those weekday mornings when I need something special.
Serving Suggestions
A simple cream cheese drizzle takes these over the top, but they are just as good with butter and warm maple syrup. The red velvet flavor pairs unexpectedly well with fresh strawberries or raspberries.
- Whip some cream cheese with a splash of milk and powdered sugar for an authentic red velvet experience
- Toast leftover waffles and top with vanilla Greek yogurt for a protein packed version
- Crumbled waffles make an excellent topping for vanilla ice cream
 Pin It
 May your kitchen always smell like vanilla and warmth, and may someone special be waiting at the table.
Recipe FAQs
- → How do I achieve the marbled effect?
-
Alternate spoonfuls of red velvet and vanilla batters onto your preheated waffle iron, then gently swirl them together using a chopstick or butter knife. Don't over-swirl—a few gentle motions create the most beautiful marbled patterns.
- → Can I make these waffles ahead of time?
-
Yes! Cook the waffles completely and let them cool on a wire rack. Freeze in a single layer, then transfer to a freezer bag. Reheat in a toaster or 350°F oven for 5 minutes to restore crispness.
- → What's the best way to serve these?
-
Warm waffles shine with cream cheese glaze (blend cream cheese, milk, and powdered sugar), fresh berries, whipped cream, or pure maple syrup. The tangy cream cheese perfectly complements the cocoa notes.
- → Can I use natural food coloring?
-
Beet juice or purée works for natural red coloring, though it may produce a deeper rust shade rather than bright red. Start with 1 tablespoon and adjust—liquid alternatives may slightly alter batter consistency.
- → Why is buttermilk important in this batter?
-
Buttermilk's acidity activates the baking soda for extra lift, creating exceptionally fluffy interiors. Its tang also balances the cocoa and sugar while helping develop that coveted crispy exterior.
- → How do I know when waffles are done?
-
Your waffle iron's indicator light typically signals doneness. Otherwise, look for steam reduction and golden-brown color—they should feel crisp and set, not doughy. Most batches take 3-5 minutes depending on your iron.
