 Pin It
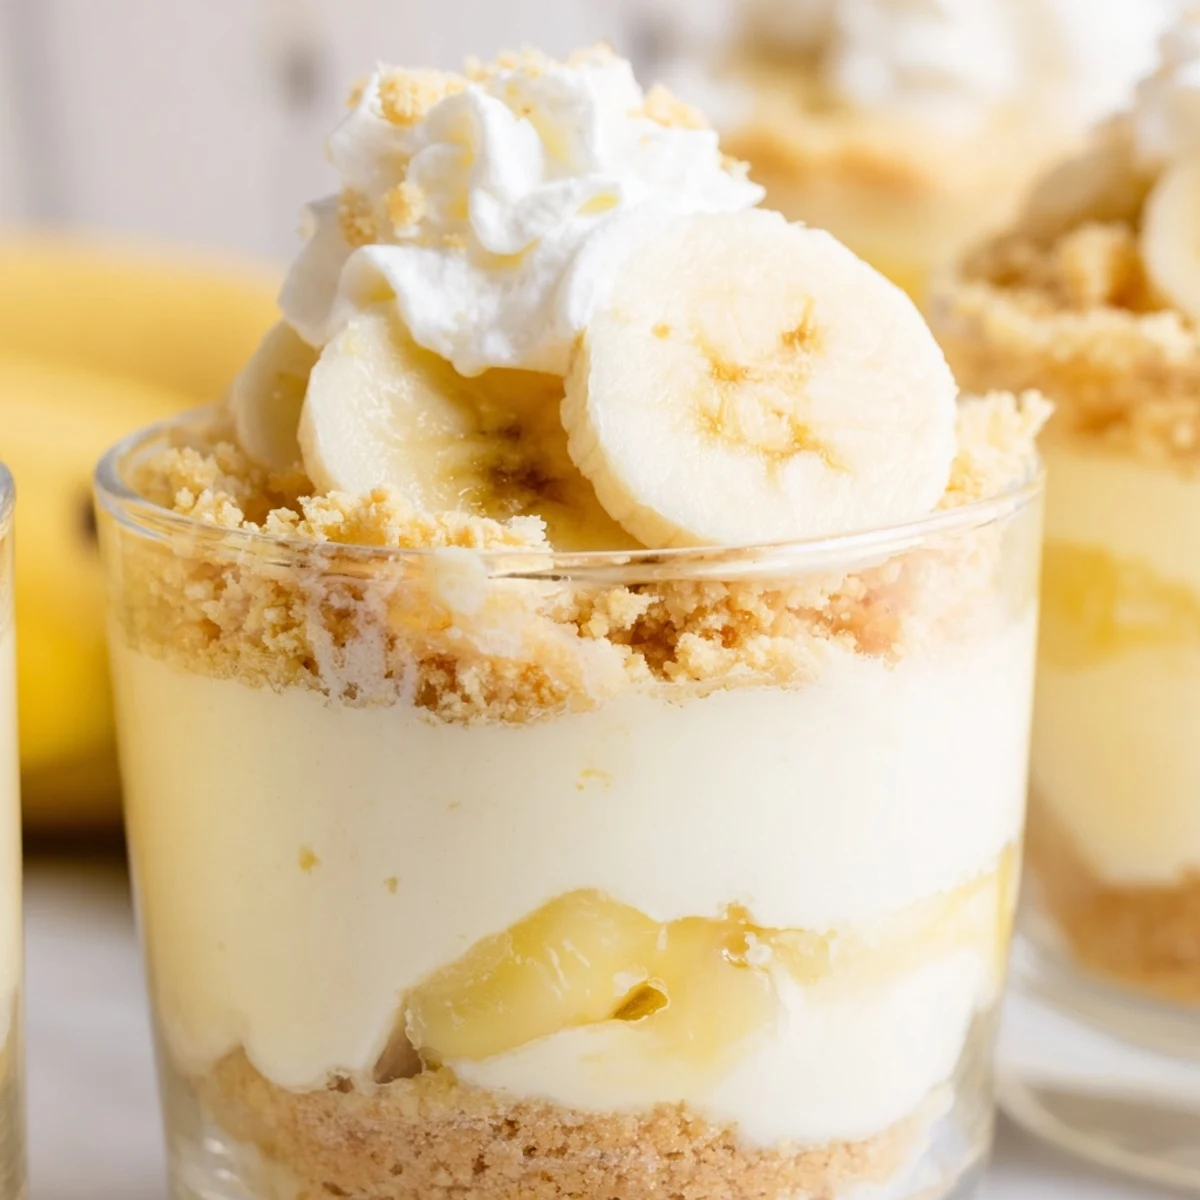
 These individual cups feature layers of velvety cheesecake filling and classic banana pudding, all nestled atop a buttery vanilla wafer crust. The no-bake preparation comes together in just 20 minutes, requiring only a brief chill time to set. Each cup delivers the perfect balance of creamy, sweet, and crunchy textures with ripe banana slices throughout.
Last summer my sister dropped by unexpectedly with three overripe bananas and that look in her eye that meant we were baking something. I'd just bought these cute little parfait glasses at a thrift store and was dying to use them, so we decided to experiment with individual portions instead of a full cheesecake. We ended up eating them straight from the fridge at midnight, standing in the kitchen in our pajamas, and I knew this was going to be a regular thing.
I made these for my book club last month and honestly, people were more excited about these cups than the actual book discussion. One friend who claims she doesn't even like banana pudding went back for seconds and then texted me the next day asking for the recipe. There's something about having your own perfect little portion that makes dessert feel special.
Ingredients
- 1 cup vanilla wafer cookies, crushed: These classic Nilla wafers are non-negotiable here—their flavor is what makes this taste like childhood
- 2 tbsp unsalted butter, melted: Just enough to bind the crumbs into a crust that holds together but still has some crunch
- 8 oz (225 g) cream cheese, softened: Let it sit on the counter for a full hour—cold cream cheese will leave you with lumps
- 1/3 cup granulated sugar: This sweetens the cheesecake layer without making it cloying
- 1 tsp pure vanilla extract: Don't skip this—it bridges the gap between the cheesecake and banana flavors
- 1 cup heavy whipping cream, cold: Straight from the fridge, and chill your bowl too for best results
- 1 (3.4 oz/96 g) package instant banana pudding mix: The instant variety sets up perfectly in the fridge without any cooking
- 1 1/4 cups cold whole milk: Whole milk gives the pudding layer that luscious restaurant texture
- 2 ripe bananas, sliced: Look for bananas with plenty of brown spots—that's when they're sweetest and most flavorful
- Additional vanilla wafer crumbs: For that pretty finish on top
- Fresh banana slices: Add these right before serving so they don't brown
- Whipped cream (optional): Because is there ever a bad time for more whipped cream?
Instructions
- Build the Crust:
- In a small bowl, combine crushed vanilla wafers and melted butter until the texture resembles wet sand. Spoon about 2 tablespoons into the bottom of each serving cup and press gently with the back of a spoon to form an even layer.
- Make the Cheesecake Base:
- Beat cream cheese, sugar, and vanilla extract with a hand mixer until completely smooth—this takes about 2 minutes. Scrape down the sides of the bowl to catch any pockets of cream cheese.
- Whip the Cream:
- In a separate chilled bowl, whip cold heavy cream until stiff peaks form. Gently fold the whipped cream into the cream cheese mixture until no white streaks remain.
- Prepare the Pudding:
- Whisk together banana pudding mix and cold milk for 2 minutes until noticeably thickened. Let it sit for a couple of minutes while you assemble the layers.
- Layer It Up:
- Spoon half the cheesecake filling over the crust in each cup. Add a layer of sliced bananas, then divide the banana pudding among the cups. Top with remaining cheesecake mixture.
- Add the Finishing Touches:
- Sprinkle each cup with additional wafer crumbs and add fresh banana slices. Add a dollop of whipped cream if you're feeling fancy.
- Chill and Set:
- Cover the cups and refrigerate for at least 2 hours—the layers need time to firm up and flavors to meld together.
 Pin It
 My daughter requested these for her birthday instead of cake, which honestly felt like a parenting win. She helped me assemble the layers and was so proud of herself, carefully arranging each banana slice like she was plating at a restaurant.
Make-Ahead Magic
These cups are your best friend when you're hosting. You can assemble everything except the fresh banana topping up to 24 hours in advance. Just keep them covered in the fridge and add those final touches right before your guests arrive.
Serving Suggestions
I like to set out a little toppings bar and let people customize their own cups. Crushed wafers, extra whipped cream, maybe even some chopped nuts or a drizzle of caramel. It turns dessert into a fun activity.
Storage Secrets
These will keep in the fridge for 2-3 days, though honestly, they've never lasted that long at my house. The texture stays creamy and the crust remains satisfyingly crisp. Just know that the banana slices on top will brown, so add those fresh each time.
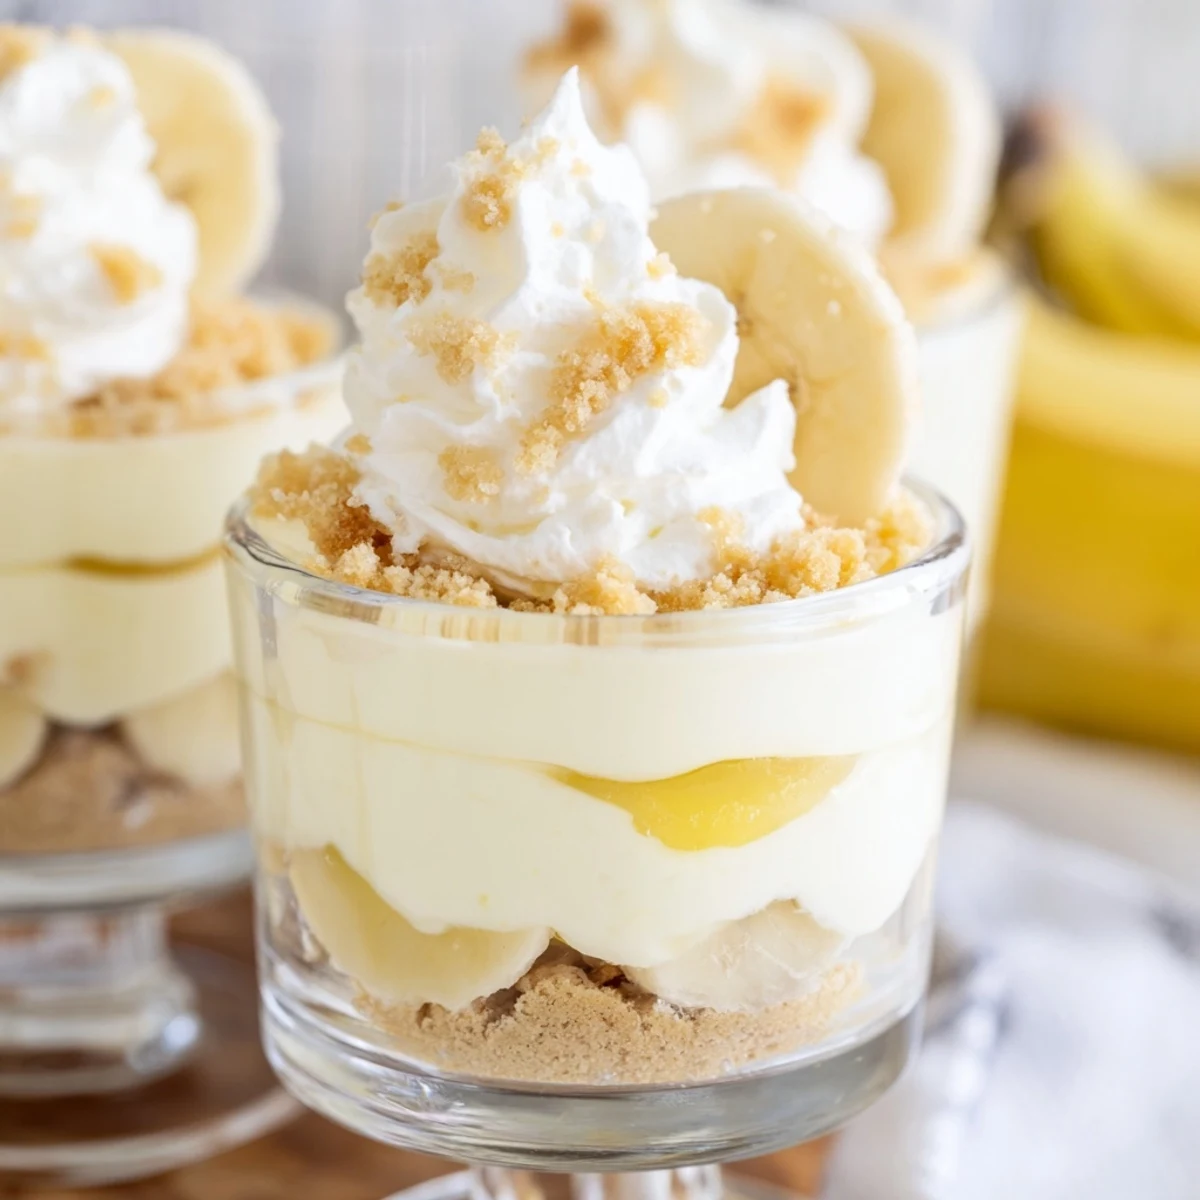
- Use clear glass cups so the beautiful layers are visible
- Small mason jars work perfectly if you don't have parfait glasses
- A teaspoon works better than a tablespoon for the layered filling
 Pin It
 There's something about these little cups that makes people happy, maybe because they remind us of childhood but feel grown up at the same time. Hope they bring some joy to your kitchen too.
Recipe FAQs
- → How long do these cups need to chill?
-
The cups require at least 2 hours of refrigeration time to properly set. This allows the cheesecake filling and pudding layers to firm up, making them easier to serve and ensuring the best texture.
- → Can I make these ahead of time?
-
Yes, you can prepare these cups up to 24 hours in advance. For best results, add the fresh banana slices and wafer crumb toppings just before serving to prevent the bananas from browning and maintain optimal crunch.
- → How do I prevent banana slices from turning brown?
-
Toss the banana slices lightly in lemon juice before arranging them on top. Alternatively, serve immediately after adding the bananas, or wait to add fresh banana slices until just before serving.
- → Can I use homemade pudding instead of instant mix?
-
While the instant mix provides convenience, you can certainly use homemade vanilla or banana pudding. Just ensure it's fully cooled and thickened before layering to maintain the proper structure.
- → What type of serving cups work best?
-
Clear glass cups, mason jars, or dessert dishes work beautifully as they showcase the attractive layers. Aim for 6-8 ounce capacity cups to accommodate all three layers with room for toppings.
- → Can I substitute the vanilla wafers?
-
Graham cracker crumbs, gingersnaps, or even shortbread cookies make excellent crust alternatives. Each brings a slightly different flavor profile while maintaining that essential buttery crunch.
