 Pin It
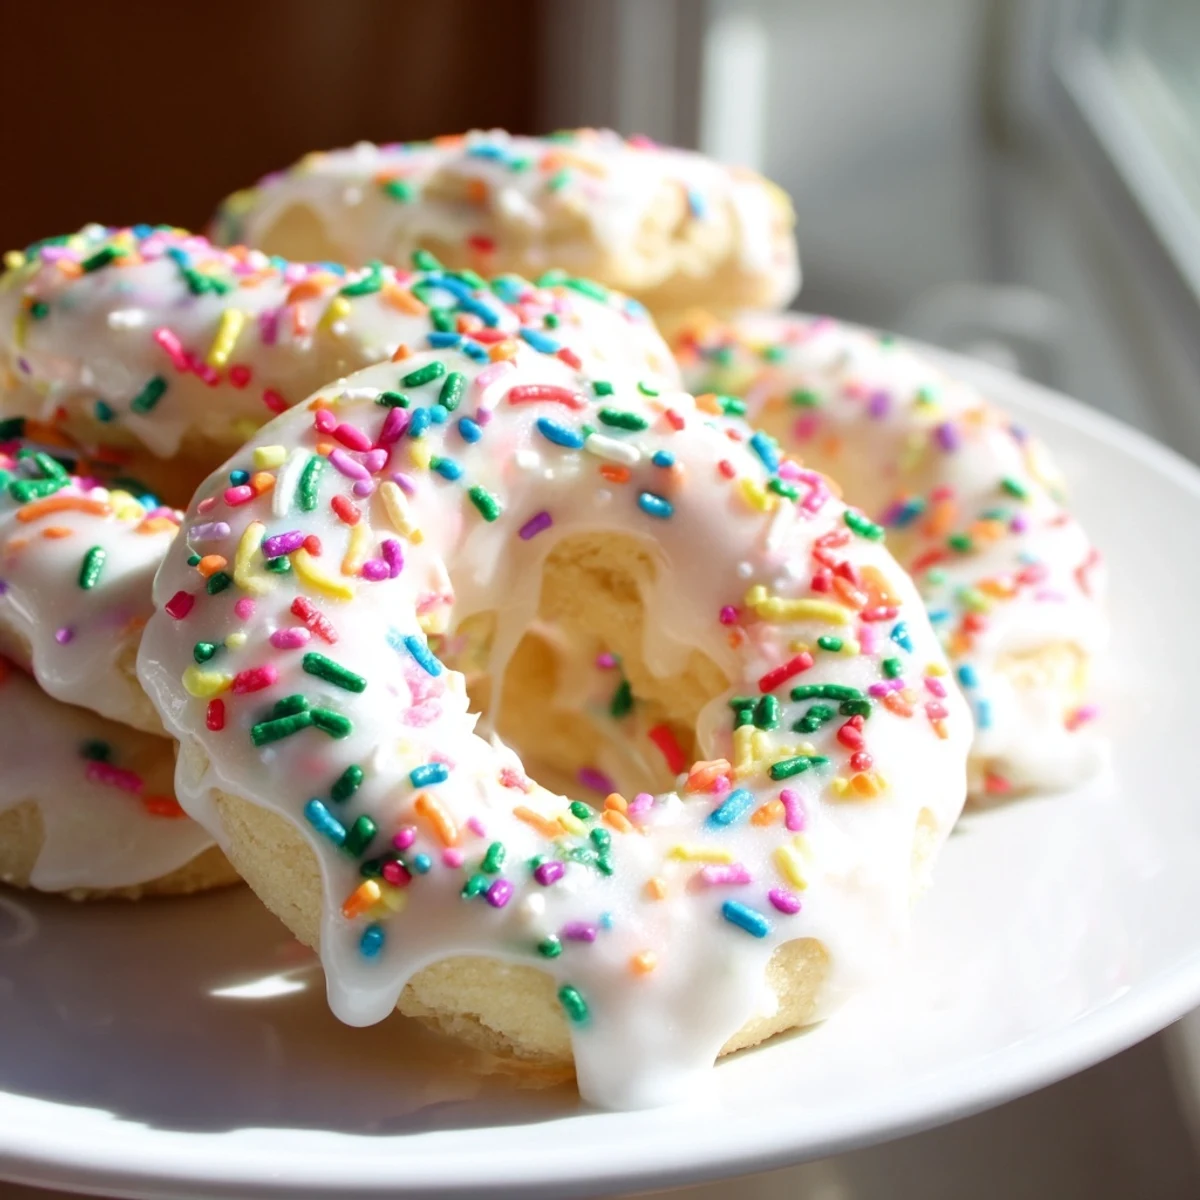
 These tender Italian treats feature a soft dough enriched with butter, eggs, and bright citrus zest from lemon and orange. The cookies bake until just golden, creating a delicate crumb that's neither too dense nor too crisp.
The classic vanilla glaze adds sweetness and a beautiful finish, while colorful sprinkles make them festive for Easter gatherings. Traditional shapes include rings and knots, though simple rounds work perfectly.
These cookies keep beautifully for days, making them ideal for preparing ahead of holiday celebrations or sharing with family and friends.
The smell of lemon and orange zest hitting the sugar always stops me in my tracks, no matter how many times I make these cookies. My grandmother never measured anything, but she taught me that the zest should be so fragrant it perfumes the entire kitchen. Now I make these every Easter, and when my kids walk through the door, they know exactly what holiday it is just from the citrus scent floating through the house.
Last year I accidentally doubled the vanilla extract because I was distracted by my daughter asking about the Easter bunny. The cookies turned out so incredible that now I make that mistake on purpose every single time. Sometimes the best discoveries happen when you are not even paying attention.
Ingredients
- All-purpose flour: The structure of these cookies depends on it, so do not even think about substituting
- Baking powder: Just enough to give them lift without making them cakey or dry
- Salt: A quarter teaspoon might seem tiny, but it makes all the difference in balancing the sweetness
- Unsalted butter: Soften it properly or you will end up with pockets of flour in your dough
- Granulated sugar: Cream this thoroughly with the butter or your cookies will spread too much
- Eggs: Room temperature eggs incorporate so much better into the dough
- Pure vanilla extract: The fake stuff has a weird aftertaste that ruins delicate cookies
- Almond extract: Even if you are not usually an almond person, try it once for authenticity
- Lemon and orange zest: Use a microplane and avoid the bitter white pith completely
- Milk: Just enough to bring the dough together without making it sticky
- Powdered sugar: Sifting is annoying but necessary for smooth glaze
- Colored sprinkles: Pastels feel more Easter appropriate than bright primary colors
Instructions
- Prep your oven and pans:
- Preheat to 350°F and line baking sheets with parchment paper, nothing sticks to my sheets like this
- Whisk the dry ingredients:
- Flour, baking powder, and salt in one bowl, set it aside while you work on the butter
- Cream butter and sugar:
- Beat until light and fluffy, at least 3 minutes, this step is worth every second
- Add the eggs and extracts:
- One egg at a time, then vanilla, almond if using, and all that beautiful zest
- Combine everything:
- Gradually mix in the flour, then add milk until dough is soft and workable
- Shape the cookies:
- Roll tablespoon portions into ropes and form knots or rings, whatever shape makes you happy
- Bake until golden:
- 10 to 12 minutes, just until bottoms are barely golden, they will look underdone but that is perfect
- Cool completely:
- Wire racks are non negotiable here or the bottoms will get soggy
- Make the glaze:
- Whisk powdered sugar with milk and vanilla until it is thick but pourable
- Dip and decorate:
- Dip each cookie top, let the excess drip off, then shower with sprinkles before the glaze sets
 Pin It
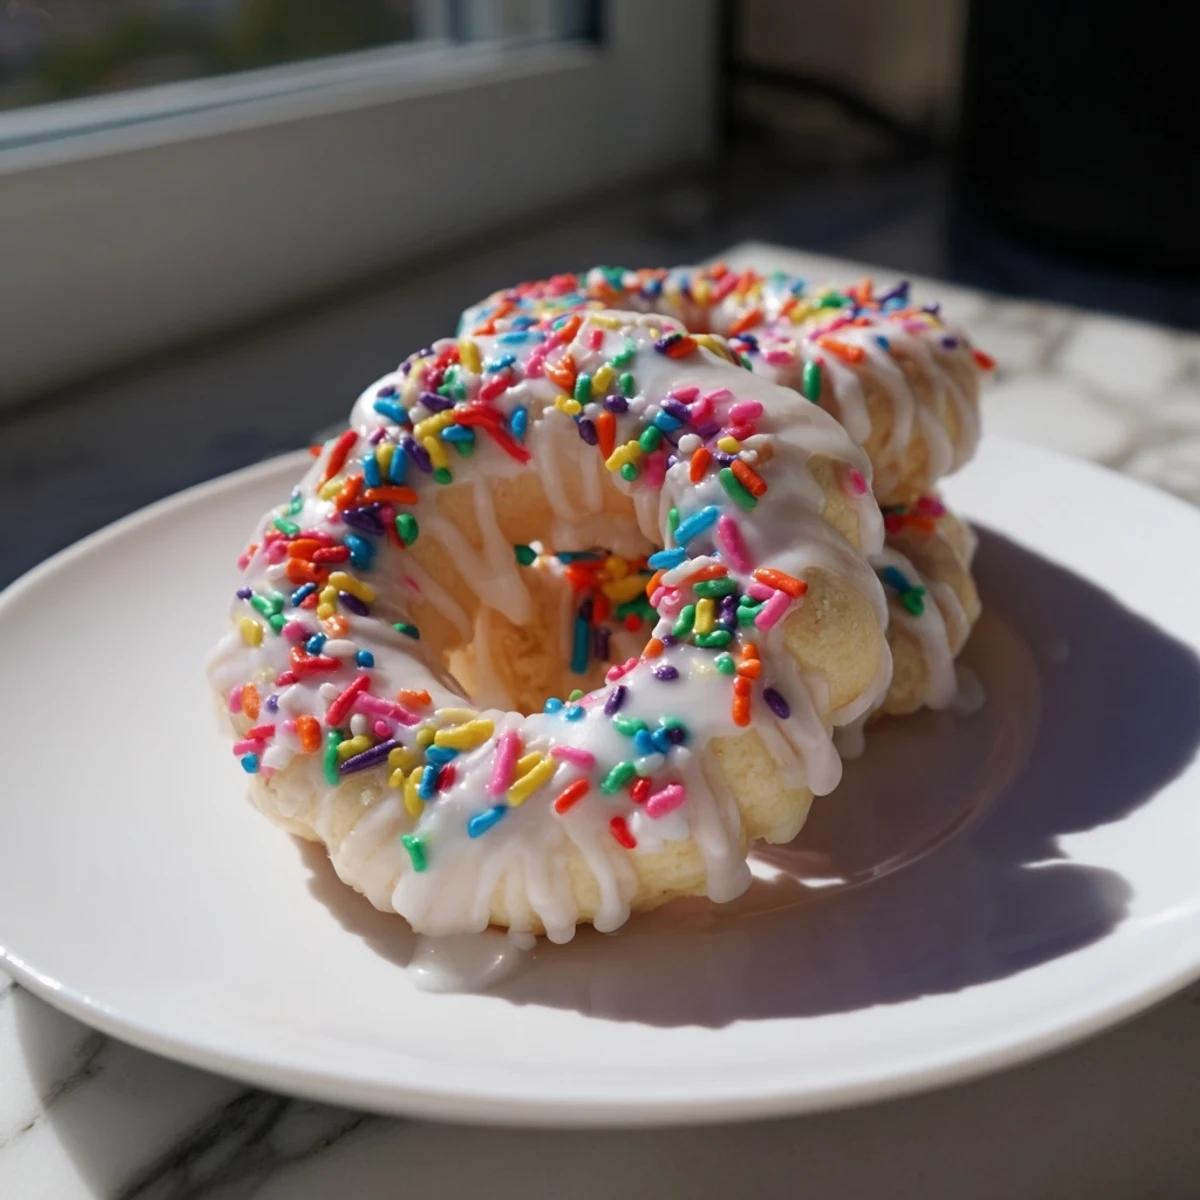
 My neighbor asked for the recipe after seeing the photo I posted last year. She made them for her family Easter dinner and texted me saying they were the best cookies she had ever made. Now we compare sprinkle colors and glaze thickness like we are discussing something far more serious than cookies.
Getting The Shape Right
Rolling the dough into ropes takes some practice, and my first attempts looked more like squiggles than proper knots. The secret is working with lightly floured hands and not overthinking it. Imperfect shapes taste exactly the same, and honestly, the rustic ones look more authentic anyway.
The Glaze Window
There is about a 30 second window where the glaze is perfect for dipping, and learning to recognize it takes practice. Too thin and it slides right off the cookie. Too thick and you get globs instead of that smooth dip you want. Whisk slowly and test frequently.
Storage Secrets
These cookies actually improve on day two as the flavors meld together. Store them in a single layer with wax paper between stacks so the glaze does not stick to anything.
- Never store warm cookies or the glaze will melt into a sticky mess
- Freeze unglazed cookies for up to a month and glaze when ready to serve
- Room temperature storage is best, the refrigerator makes them tough
 Pin It
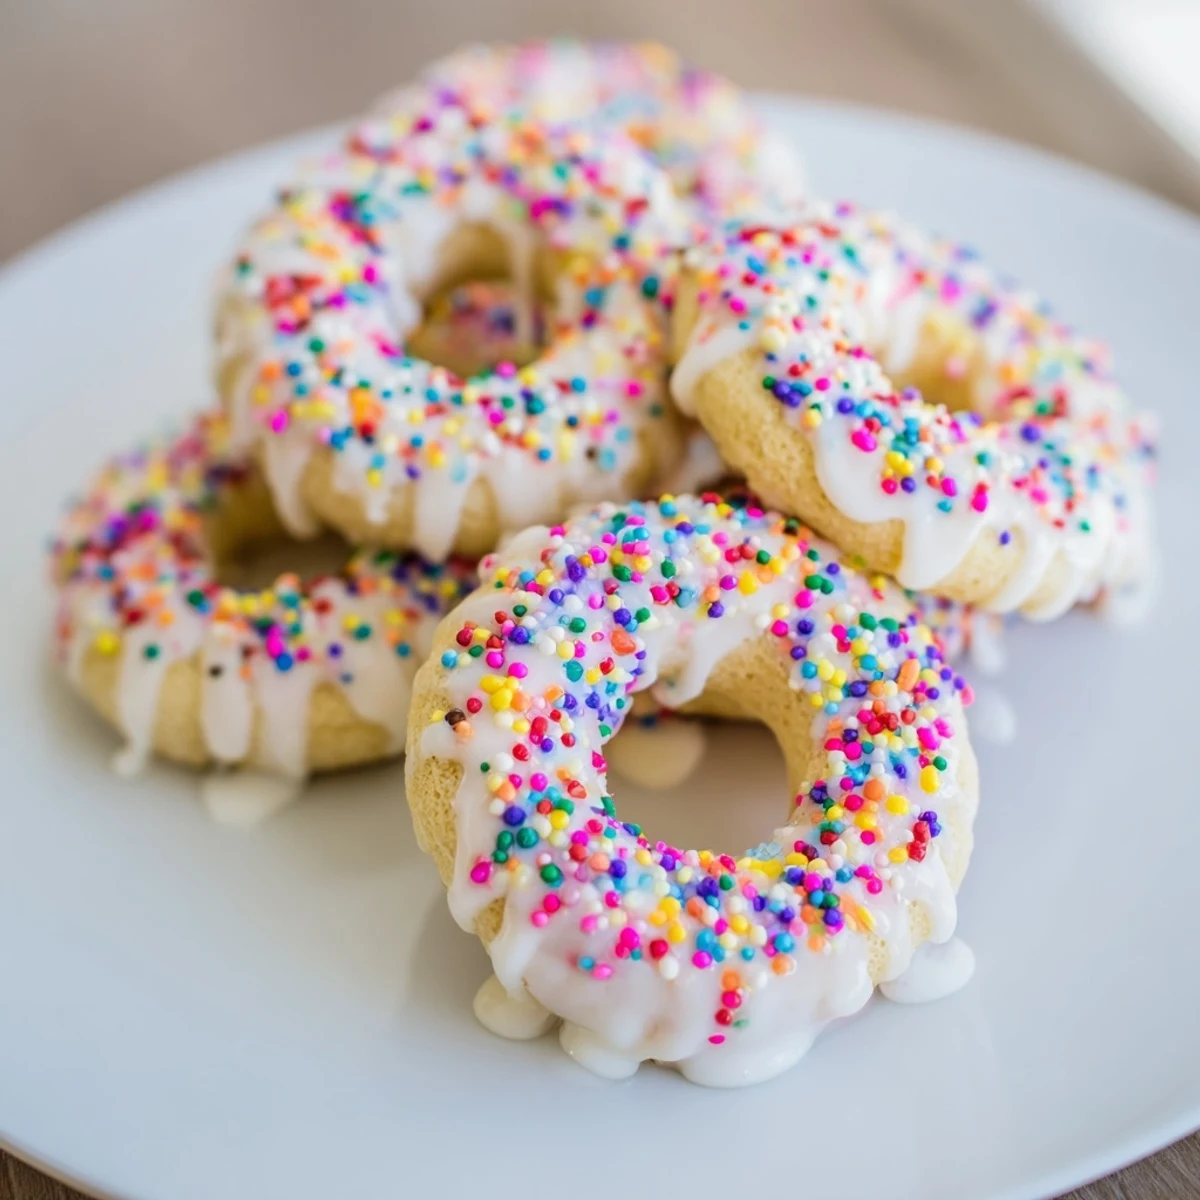
 Easter would not feel complete without these cookies cooling on the counter, their pastel sprinkles catching the afternoon light.
Recipe FAQs
- → Why are these traditionally made during Easter?
-
These treats represent celebration and renewal in Italian culture. The round shapes symbolize eternal life, while colorful glaze and sprinkles reflect spring's joyful arrival after winter.
- → Can I make the dough ahead of time?
-
Yes, the dough refrigerates well for up to 2 days. Wrap tightly and let it soften slightly at room temperature before shaping and baking.
- → What's the best way to shape these cookies?
-
Traditional forms include rings, knots, or simple braids. Roll dough ropes about 6 inches long, then overlap ends or twist into knots. Balls work beautifully for a simpler approach.
- → How should I store these glazed treats?
-
Keep in an airtight container at room temperature for up to 5 days. Place parchment paper between layers to prevent the glaze from sticking to other cookies.
- → Can I freeze these before or after glazing?
-
Freeze unbaked dough balls for up to 3 months, or freeze fully glazed treats once the icing has completely set. Thaw at room temperature before serving.
