
 Pin It
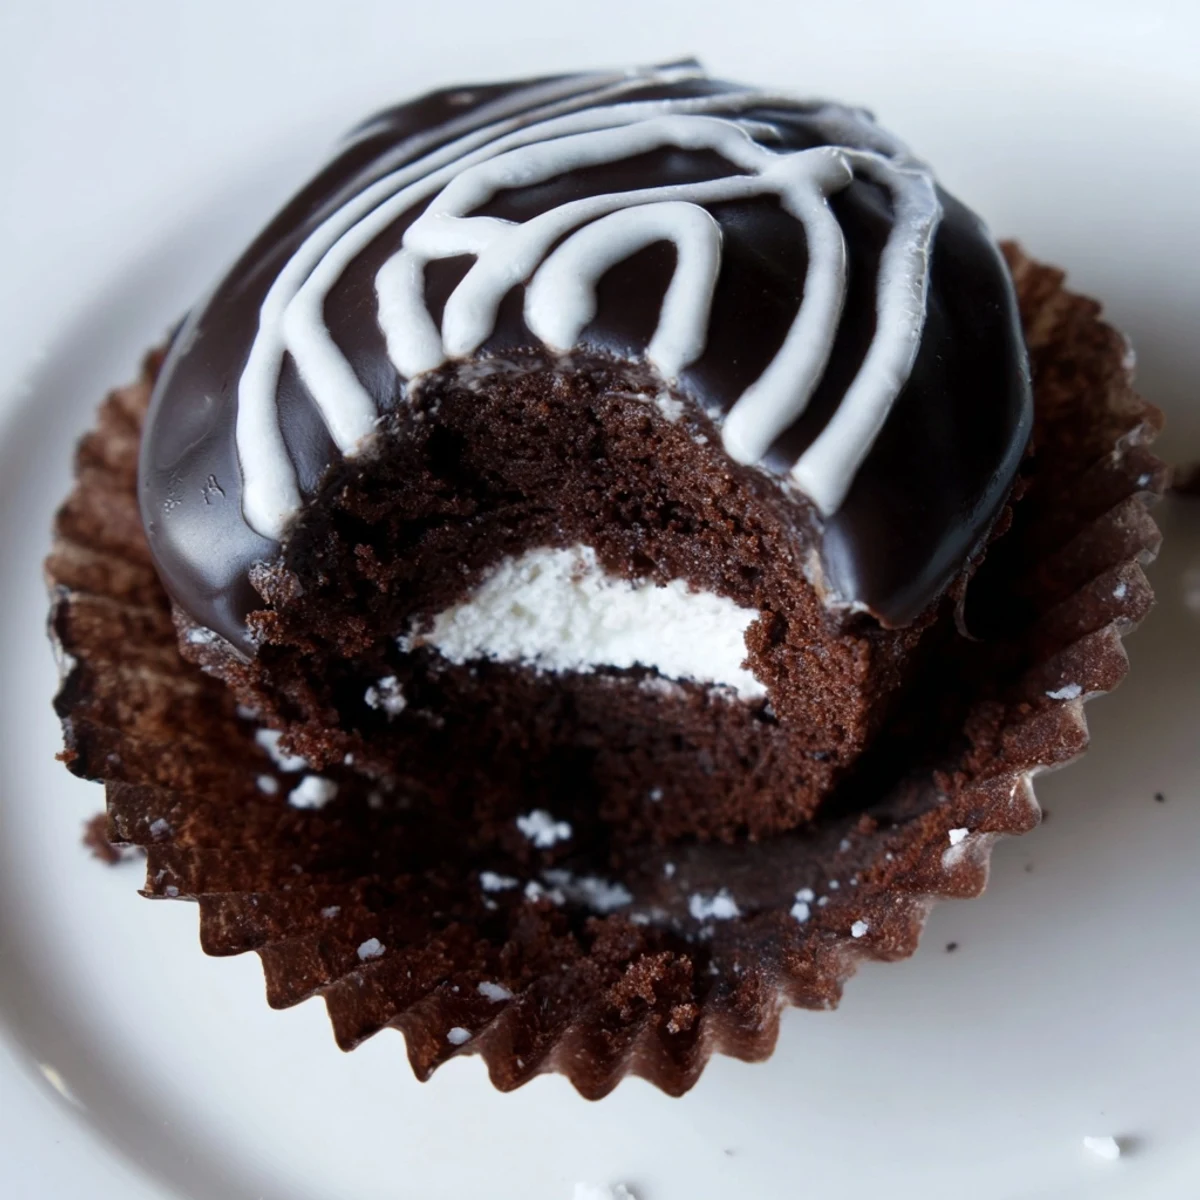
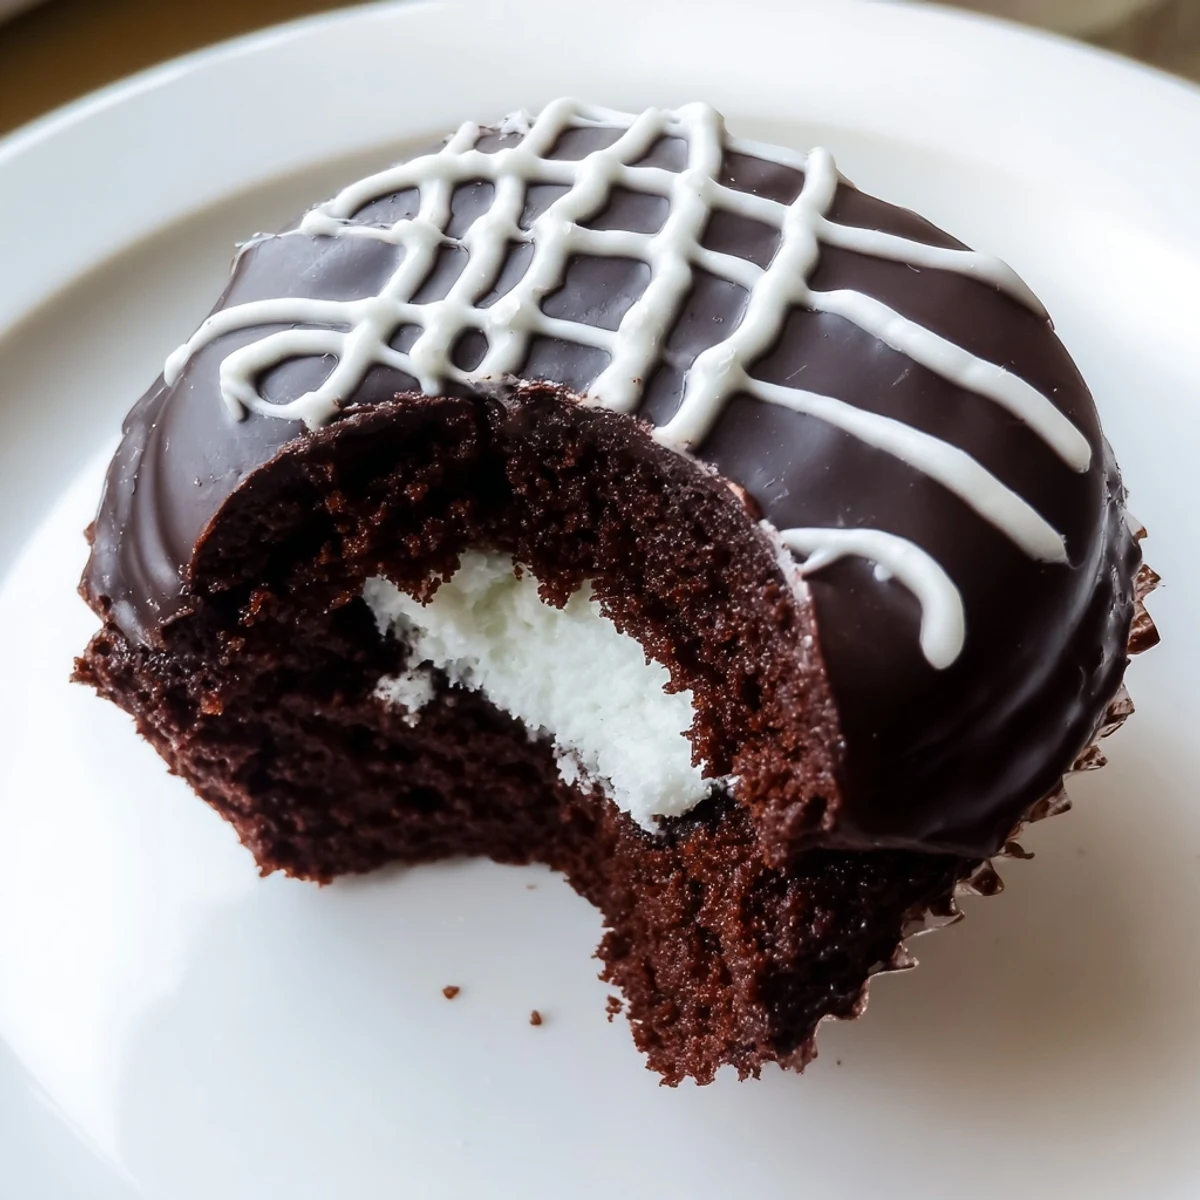
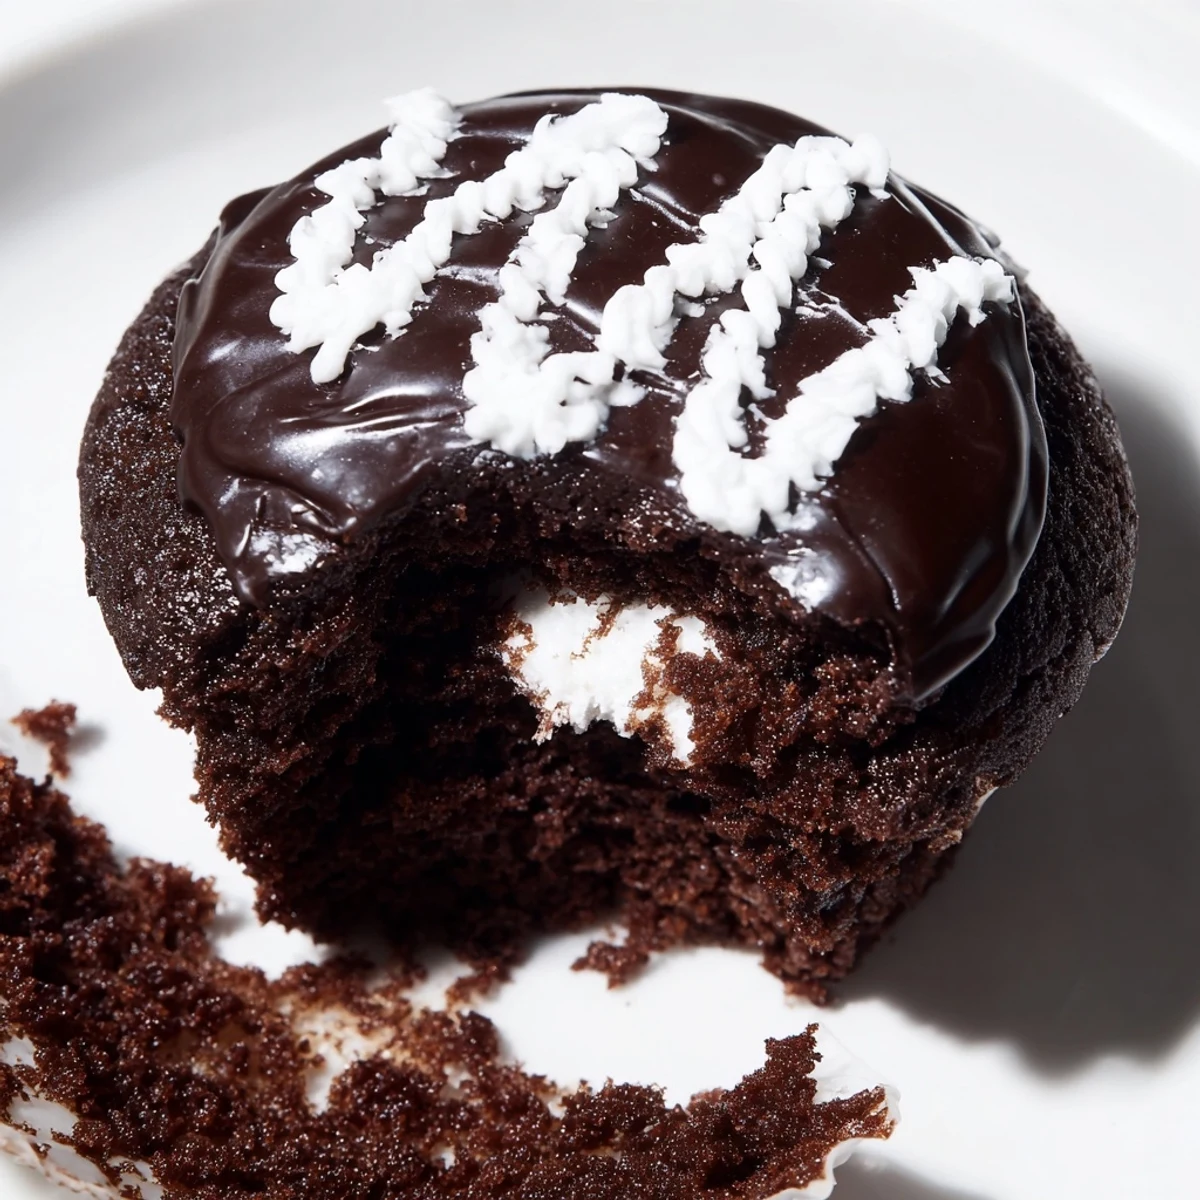
 These homemade Hostess cupcakes capture everything you love about the classic treat—a tender chocolate cake shell, a fluffy marshmallow cream center, and a glossy ganache top finished with that signature white icing swirl.
Each component comes together with straightforward techniques: a simple one-bowl chocolate batter, a whipped buttercream-style filling using marshmallow creme, and a quick two-ingredient ganache for the coating.
Plan for about 90 minutes total, accounting for cooling time before assembly. The filling is piped into the center of each cupcake using a piping bag, and the iconic swirl is drawn freehand with a thin powdered sugar icing.
Something about the smell of chocolate cupcakes cooling on a wire rack takes me back to elementary school lunchboxes and that distinctive crinkle of foil wrappers. My college roommate and I spent one rainy Sunday trying to reverse-engineer these iconic snacks, emerging from the kitchen covered in chocolate ganache but absolutely triumphant when we bit into that first creamy-filled cupcake.
Last winter, I made these for my nephews birthday and watched his eyes widen at the first bite when he discovered the cream filling hidden inside. He asked how they got the stuff inside, which led to an impromptu kitchen demonstration that had both kids pressing their faces against the oven door waiting for them to cool.
Ingredients
- 1 cup all-purpose flour: Forms the tender foundation of the cupcakes; I found that sifting it first prevents any lumps in the final crumb
- ½ cup unsweetened cocoa powder: Dutch-processed gives a deeper, richer chocolate flavor that stands up to the sweet cream filling
- 1 cup granulated sugar: Balances the bitterness of the cocoa and creates that signature bakery-style sweetness
- 1 teaspoon baking powder and ½ teaspoon baking soda: Together they ensure the cupcakes rise properly and have a light, tender texture
- ½ cup buttermilk: The acidity reacts with the baking soda for extra lift and keeps the cake incredibly moist
- ½ cup vegetable oil: Unlike butter, oil keeps these cupcakes soft and fresh-tasting even after a day or two
- 2 large eggs: Room temperature eggs incorporate more easily into the batter for better structure
- ½ cup hot water: This secret ingredient blooms the cocoa powder and creates an incredibly smooth, thin batter that bakes into moist cupcakes
- ⅓ cup unsalted butter: The base for the cream filling; softened to room temperature for smooth mixing
- ¾ cup powdered sugar and 1 cup marshmallow creme: This combination creates that fluffy, marshmallowy filling that tastes exactly like the childhood favorite
- ½ cup semi-sweet chocolate chips: For the ganache topping; semi-sweet provides the right balance without overpowering the cupcake
- ¼ cup heavy cream: Creates the silky ganache coating that sets into that distinctive shiny finish
Instructions
- Get everything ready:
- Preheat your oven to 350°F and line a 12-cup muffin tin with paper liners, setting aside all ingredients at room temperature.
- Whisk the dry ingredients:
- In a mixing bowl, combine the flour, cocoa powder, sugar, baking soda, baking powder, and salt until fully incorporated.
- Mix the wet ingredients:
- Add the buttermilk, vegetable oil, eggs, and vanilla extract, mixing until just combined before stirring in the hot water.
- Bake the cupcakes:
- Pour the thin batter evenly into the prepared liners, filling each about two-thirds full, and bake for 18 to 20 minutes.
- Make the creamy filling:
- Beat the softened butter until light and fluffy, then add the powdered sugar followed by the marshmallow creme and vanilla.
- Fill the cupcakes:
- Once completely cooled, use a small knife to remove the center of each cupcake and pipe the cream filling inside.
- Create the ganache:
- Heat the heavy cream until steaming, pour it over the chocolate chips, let it sit for two minutes, then stir until smooth and glossy.
- Add the finishing touches:
- Dip or spoon the ganache over each cupcake and let it set before piping the classic white icing swirl across the top.
 Pin It
 These have become my go-to contribution for bake sales and office birthdays because people get genuinely excited when they recognize what they are. Something about that combination of childhood nostalgia and actually superior homemade flavor makes them disappear faster than anything else I bake.
Getting That Signature Look
The ganache needs to be warm but not hot when you dip the cupcakes—too cool and it will not coat smoothly, too hot and it will slide right off. I learned this the hard way after ending up with chocolate-covered fingers and half-bald cupcakes my first attempt.
Make-Ahead Magic
You can bake and fill these cupcakes a day ahead, but wait to add the ganache coating until a few hours before serving. The cream filling actually tastes better after sitting overnight because the flavors meld together beautifully in the fridge.
Perfect Pairings
These are absolutely meant to be eaten with an ice-cold glass of milk, preferably the kind with little droplets of condensation forming on the outside of the glass. The creamy filling inside each cupcake was practically designed to be complemented by cold milk.
- Try adding a teaspoon of instant espresso powder to the ganache for a mocha variation that cuts through the sweetness
- A pinch of sea salt sprinkled over the wet ganache creates an irresistible sweet and salty finish
- Store these in the refrigerator but let them sit at room temperature for 15 minutes before serving for the best texture
 Pin It
 There is something deeply satisfying about recreating a childhood favorite from scratch, especially when the homemade version turns out even better than you remembered. These cupcakes are proof that some classics are worth the extra effort.
Recipe FAQs
- → How do I core the cupcakes for filling?
-
Use a small paring knife or a dedicated cupcake corer to cut a circle about 1 inch wide and 1 inch deep into the center of each cooled cupcake. Remove the plug of cake and set it aside. After piping in the filling, you can replace the top of the plug to cover the hole before glazing.
- → Can I make the cream filling ahead of time?
-
Yes, the marshmallow cream filling can be prepared a day in advance. Store it covered in the refrigerator, then let it come to room temperature and give it a quick stir before piping into the cupcakes.
- → Why is my cupcake batter so thin?
-
Don't worry—this batter is intentionally thin due to the hot water added at the end. The thin consistency helps produce a moist, tender crumb. The cupcakes will bake up properly with a light, even texture.
- → What type of cocoa powder works best?
-
Regular unsweetened cocoa powder works well, but Dutch-processed cocoa powder will give you a deeper, richer chocolate flavor and a darker color closer to the original Hostess cupcakes.
- → How should I store finished cupcakes?
-
Store the assembled cupcakes in an airtight container in the refrigerator for up to 3 days. Allow them to sit at room temperature for about 30 minutes before serving so the cake softens and the filling returns to its fluffy texture.
- → Can I substitute the marshmallow creme in the filling?
-
Marshmallow creme gives the most authentic texture and flavor. If unavailable, you can try whipping equal parts softened butter and shortening with powdered sugar and a splash of vanilla, though the result will be more of a traditional buttercream than the classic Hostess-style filling.
