
 Pin It
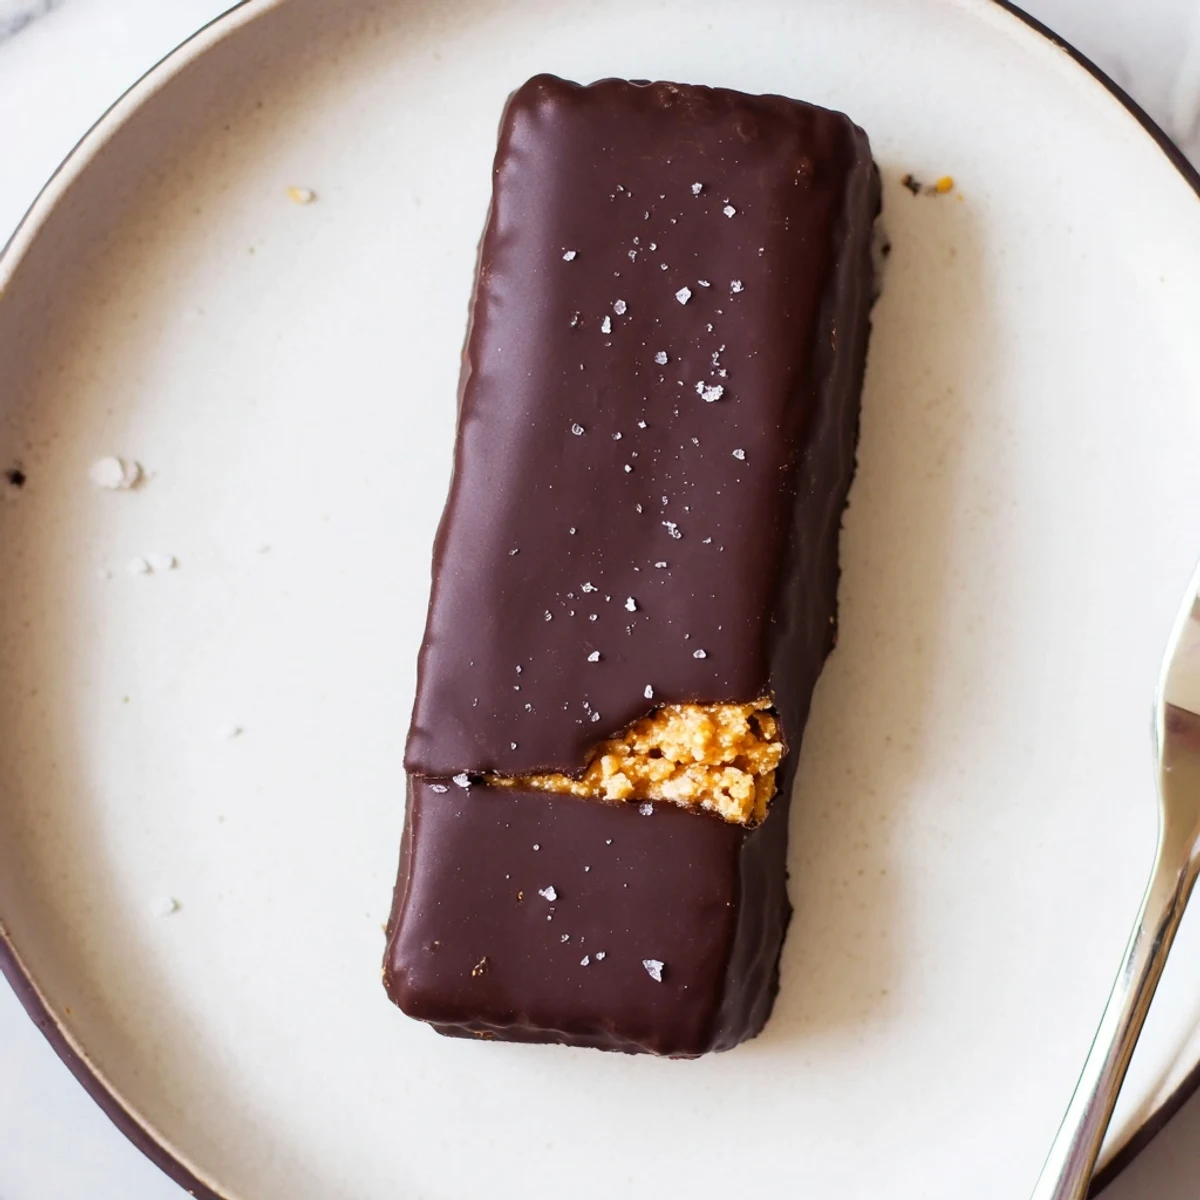
 These wholesome Butterfingers combine creamy peanut butter, pure maple syrup, and crushed corn flakes for that signature crunch. A generous coating of dark chocolate adds richness without excessive sugar.
Ready in about an hour with just 30 minutes of hands-on work, they're vegetarian and easily made gluten-free. Each bar delivers classic candy bar satisfaction with cleaner ingredients you can feel good about.
The candy aisle at the grocery store always tempts me, but one evening after reading the ingredient list on a Butterfinger wrapper, I set it back down and drove home determined to crack the code myself. Three batches later, I had something that crunched and snapped just right, draped in dark chocolate, tasting impossibly close to the original. My partner walked in, grabbed one from the cooling rack, and said nothing for a full minute while chewing. That silence was the best review I have ever received.
I brought a container of these to a friends potluck last fall and watched people argue about whether they were actually homemade. One guest kept sneaking back to the dessert table, convinced we had repackaged store bought candy.
Ingredients
- Natural creamy peanut butter: Use the kind with just peanuts and salt, no added sugars or oils, because it melts smoother and lets the maple syrup control the sweetness.
- Pure maple syrup or honey: Maple syrup keeps the bars vegan, while honey adds a faint floral note that pairs beautifully with peanut butter.
- Corn flakes, lightly crushed: Do not pulverize them into dust, you want small shards and pieces that mimic that signature flaky crunch.
- Dark chocolate chips (at least 70% cacao): The higher cacao percentage balances the sweet peanut butter layer and gives a glossy, snappy coating.
- Coconut oil: Just a tablespoon thins the chocolate to the perfect dipping consistency without making it taste like coconut.
Instructions
- Prep your pan:
- Line an 8x8 inch baking dish with parchment paper, leaving overhang on the sides so you can lift the whole slab out later without wrestling it.
- Melt the base:
- Combine peanut butter and maple syrup in a saucepan over low heat, stirring constantly so the bottom does not scorch, until the mixture is glossy and pourable.
- Fold in the crunch:
- Gently stir in the crushed corn flakes with a spatula, folding rather than mixing aggressively so you do not crush them further into powder.
- Press and freeze:
- Transfer the mixture to your lined dish and press it down firmly with the back of a spoon or your palms, then freeze for twenty to thirty minutes until it holds its shape when touched.
- Melt the chocolate:
- Set a heatproof bowl over a pan of barely simmering water, add the chocolate chips and coconut oil, and stir gently until the mixture is completely smooth and shiny.
- Cut and dip:
- Lift the frozen slab out of the dish, slice it into twelve bars, and dip each one into the chocolate using a fork, tapping off the excess before placing them on parchment.
- Chill until set:
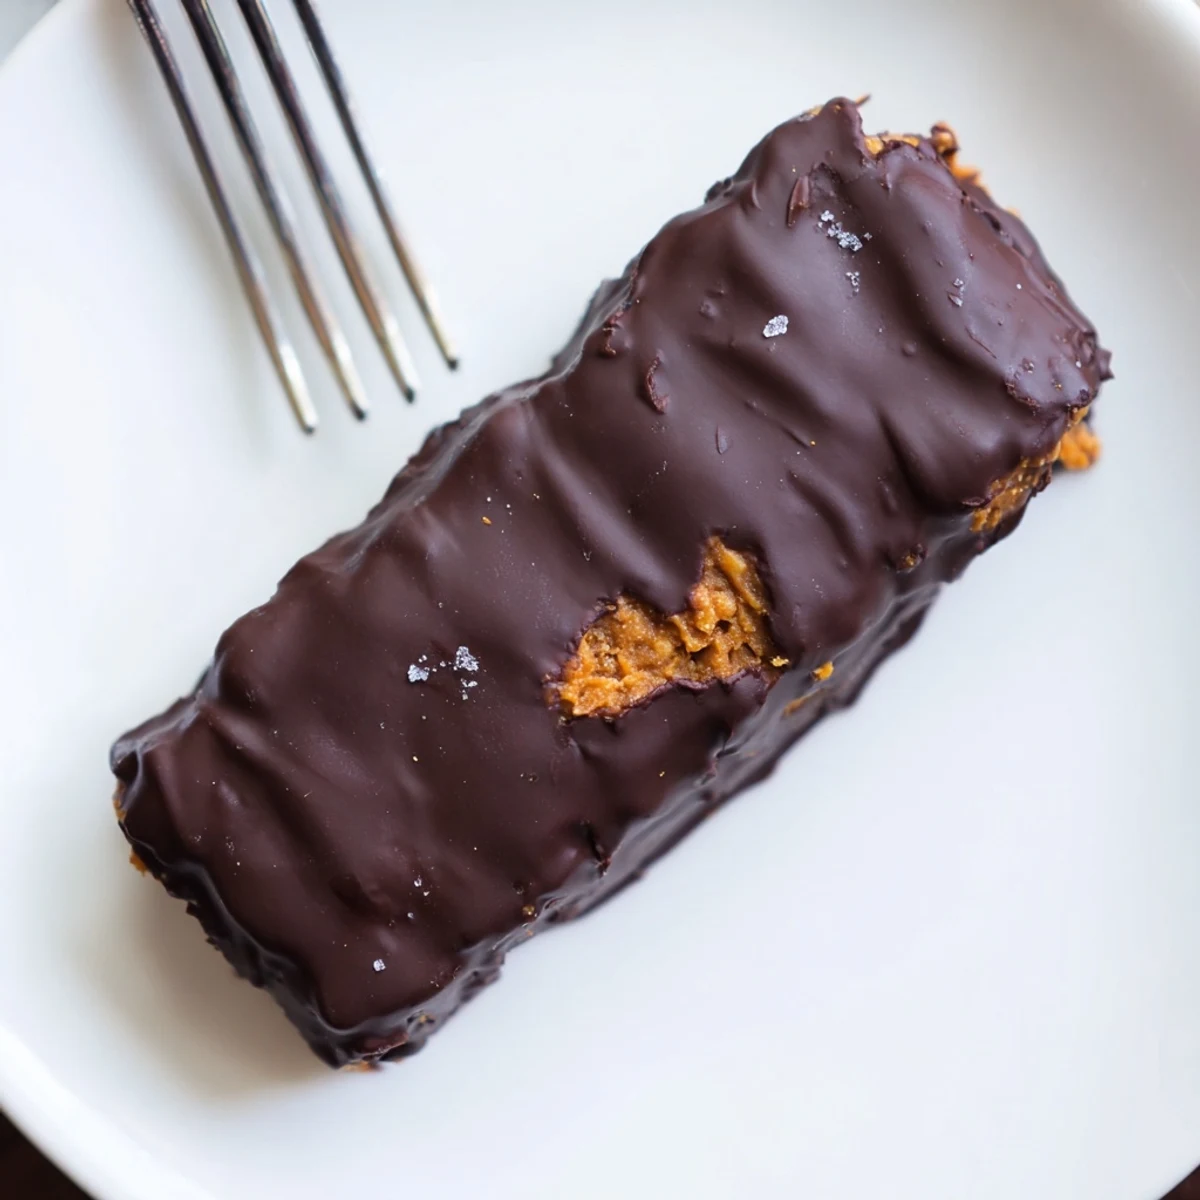
- Refrigerate the dipped bars for at least twenty minutes until the chocolate shell is firm to the touch and gives a satisfying snap when you break one in half.
 Pin It
 One Saturday my niece helped me dip bars and ended up with chocolate up to her elbows, laughing too hard to care. She now requests them every time she visits and proudly tells her friends her aunt makes candy from scratch.
Keeping Them Fresh
These bars hold up beautifully in the fridge for about a week if you store them in an airtight container with parchment between layers. For longer storage, freeze them individually wrapped in wax paper inside a freezer bag and they will keep for up to three months.
Swaps and Substitutions
Almond butter or sunflower seed butter work just as well if peanuts are off the table at your house. For a fully vegan version, stick with maple syrup and double check that your chocolate chips contain no dairy.
A Few Final Thoughts
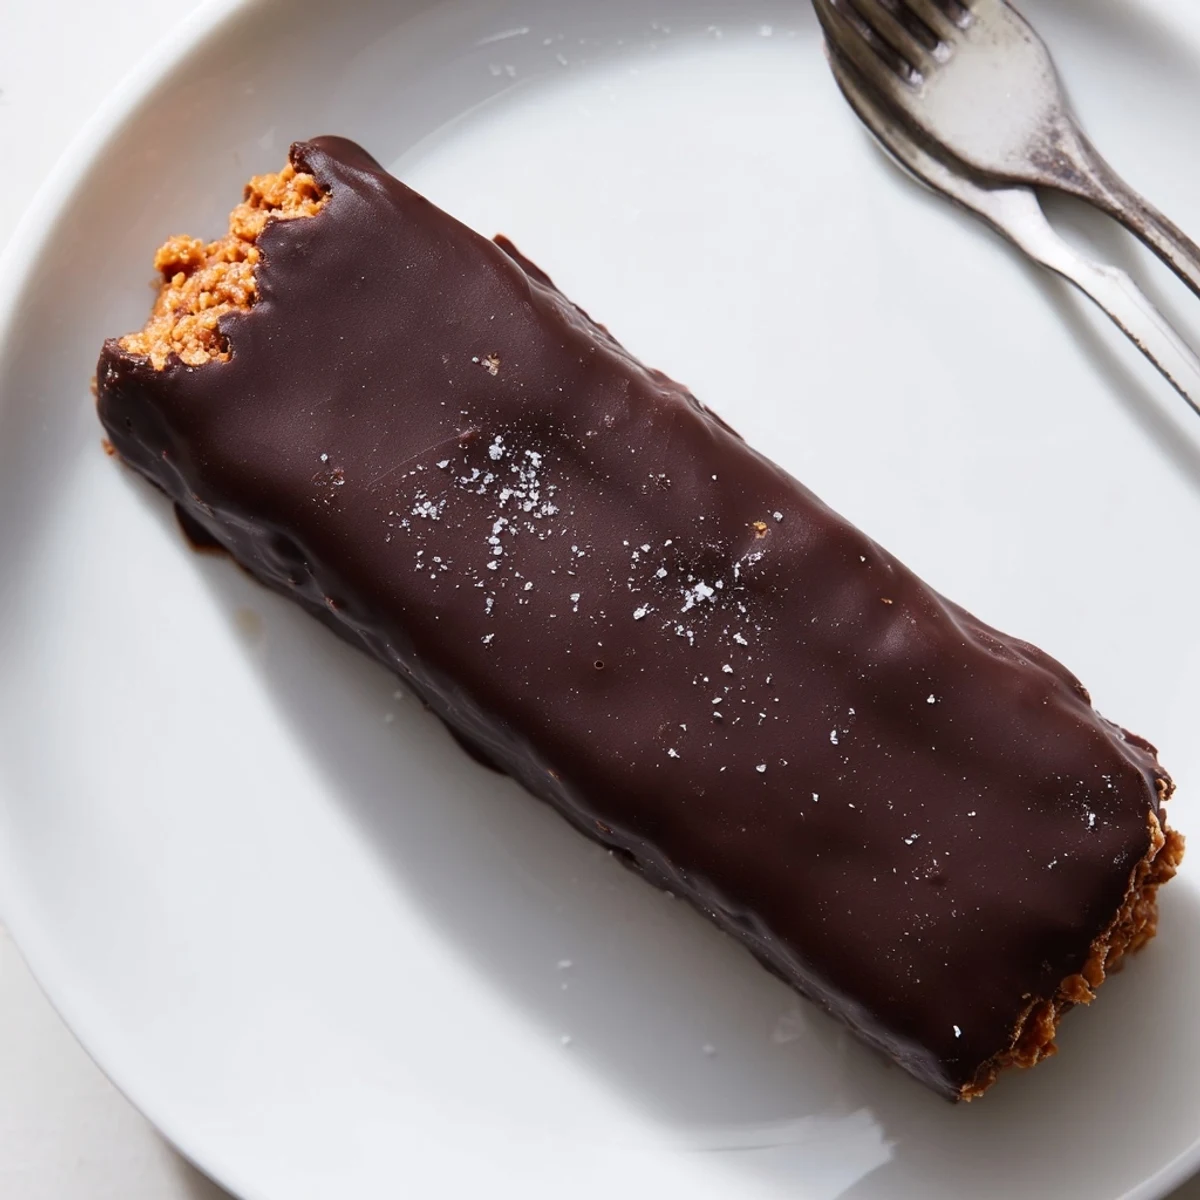
That pinch of sea salt on top is not optional in my kitchen because it pulls every flavor into sharper focus and makes the chocolate taste exponentially richer. Trust me on this one.
- Let the bars sit at room temperature for five minutes before eating so the peanut butter center softens slightly.
- Use a serrated knife to cut clean edges without compressing the crunchy filling.
- Always check your corn flake label for gluten if that matters to you.
 Pin It
 Once you see how simple these are, you will never look at a candy bar wrapper the same way again. Keep a batch in your freezer and you will always be the person with the best snacks.
Recipe FAQs
- → Can I make these Butterfingers vegan?
-
Yes, simply use maple syrup instead of honey and choose dairy-free dark chocolate chips. Most dark chocolate with 70% cacao or higher is naturally vegan, but always check the label for milk solids.
- → What can I substitute for peanut butter?
-
Almond butter or sunflower seed butter work well as peanut-free alternatives. Keep in mind that sunflower seed butter may turn slightly green when baked due to a natural reaction with baking soda—this is harmless.
- → How should I store the finished bars?
-
Store bars in an airtight container in the refrigerator for up to one week. For longer storage, freeze them for up to three months. Let frozen bars thaw in the fridge for about 30 minutes before enjoying.
- → Why do my corn flakes lose crunch after mixing?
-
Crushing the corn flakes too finely or letting them sit in the warm peanut butter mixture too long can soften them. Fold gently and press into the dish immediately. The freezer step helps set the crunch before dipping.
- → Can I use milk chocolate instead of dark chocolate?
-
Absolutely. Milk chocolate will give a sweeter, creamier coating. Just note that it pairs best with natural peanut butter since the overall bars will be sweeter than the dark chocolate version.
- → Are these safe for someone with celiac disease?
-
They can be, provided you use certified gluten-free corn flakes and verify your chocolate chips are processed in a gluten-free facility. Always check all ingredient labels to be certain.
