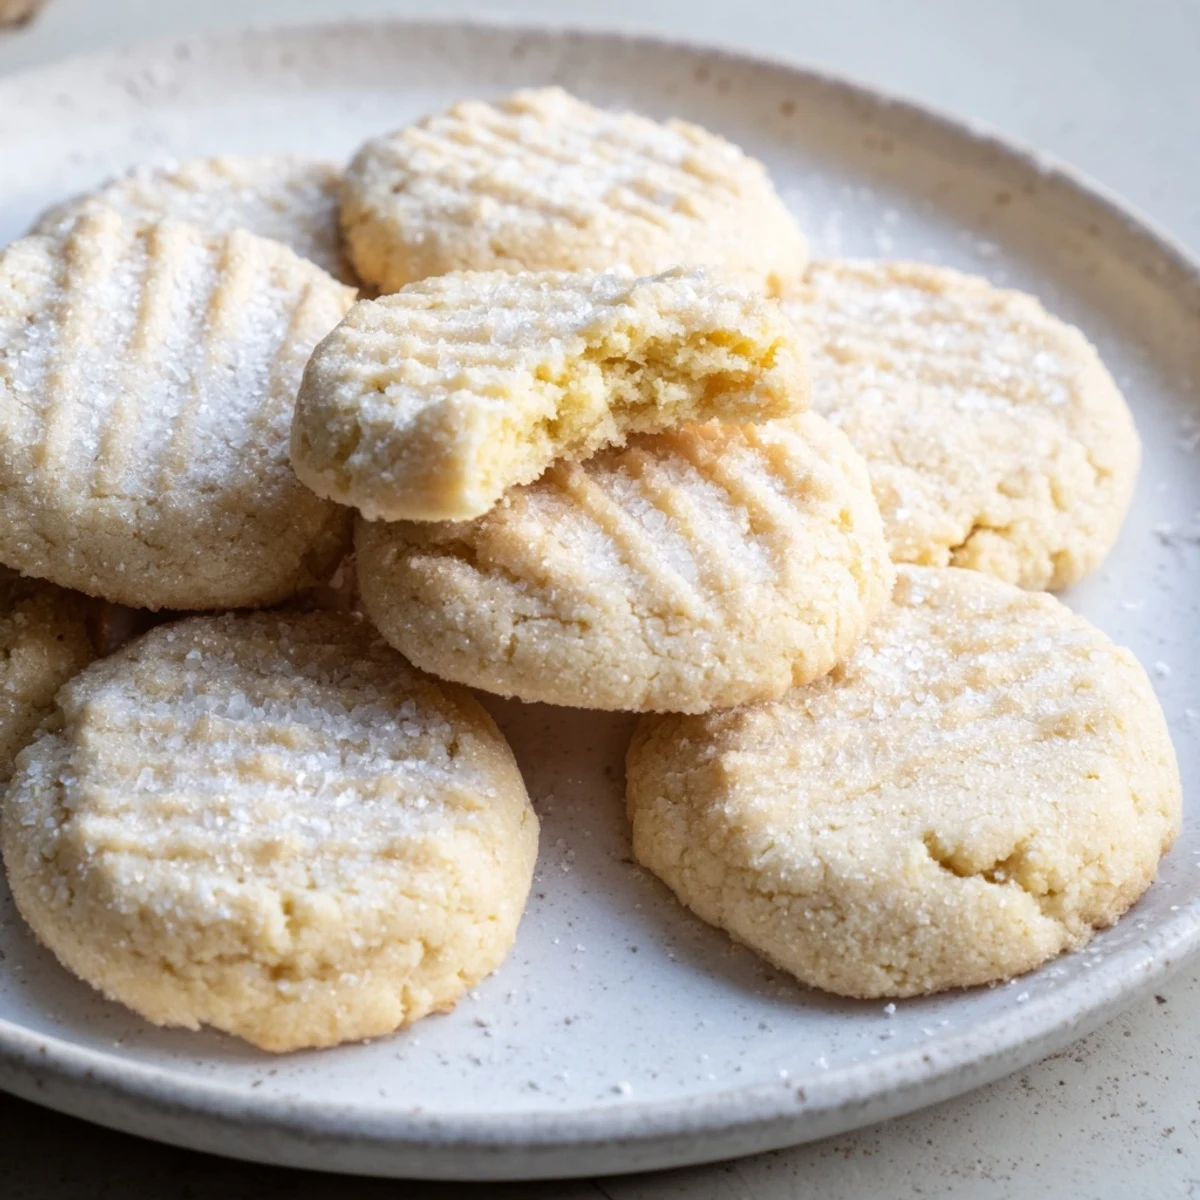
 Pin It
 Create tender, golden cookies that practically dissolve on the tongue. These traditional morsels feature a buttery richness and subtle vanilla sweetness that evokes nostalgic baking memories. The straightforward technique yields consistently perfect results—crisp edges giving way to irresistibly soft centers. Whether served alongside afternoon tea, presented as holiday gifts, or enjoyed straight from the cooling rack, these versatile treats capture homemade comfort at its finest.
The first time my grandmother made these butter cookies for our Sunday tea, I nearly ate the entire batch fresh from the oven. She warned me then about their dangerous simplicity—how something so undeniably basic could capture your heart completely.
Last Christmas, my sister found the original recipe card tucked inside Grandmas old cookbook with flour-stained corners and a note in her handwriting reading always use room temperature butter, never cold. We made three batches that afternoon and the house smelled like pure comfort.
Ingredients
- 2 1/4 cups all-purpose flour: The foundation that gives these cookies their delicate crumb without becoming heavy or dense.
- 1/2 teaspoon sea salt: A tiny pinch that wakes up all the buttery richness and prevents them from tasting flat.
- 1 cup unsalted butter: The absolute star of the show—room temperature is nonnegotiable for that melt-in-your-mouth texture.
- 3/4 cup granulated sugar: Just enough sweetness to let the butter shine through without making them cloying.
- 1 large egg yolk: Adds richness and helps create that tender, slightly sandy texture we love.
- 2 teaspoons pure vanilla extract: Grandmas rule was never skimp on vanilla—it transforms simple butter cookies into something special.
- Powdered sugar for dusting: The snow-white finish that makes these look as wonderful as they taste.
Instructions
- Preheat and prepare:
- Heat your oven to 350°F and line two baking sheets with parchment paper while you gather everything together.
- Whisk the dry ingredients:
- In a medium bowl, combine the flour and salt until theyre perfectly blended and aerated.
- Cream the butter and sugar:
- Beat the butter and granulated sugar together for a full 3 minutes until the mixture turns pale and fluffy.
- Add the yolk and vanilla:
- Pour in the egg yolk and vanilla, mixing until everything disappears into the buttery cloud.
- Bring the dough together:
- Gently fold in the flour mixture just until you see no more dry patches—overmixing makes tough cookies.
- Shape the cookies:
- Roll tablespoonfuls of dough into balls and space them 2 inches apart on your prepared baking sheets.
- Create the classic pattern:
- Press each ball gently with fork tines or a glass bottom to flatten slightly and leave those pretty ridges.
- Bake to perfection:
- Slide them into the oven for 10 to 12 minutes, watching for just the slightest golden edge.
- Cool completely:
- Let the cookies rest on the baking sheet for 5 minutes before moving them to a wire rack.
- Add the finishing touch:
- Dust the cooled cookies with powdered sugar for that elegant Grandmastyle finish.
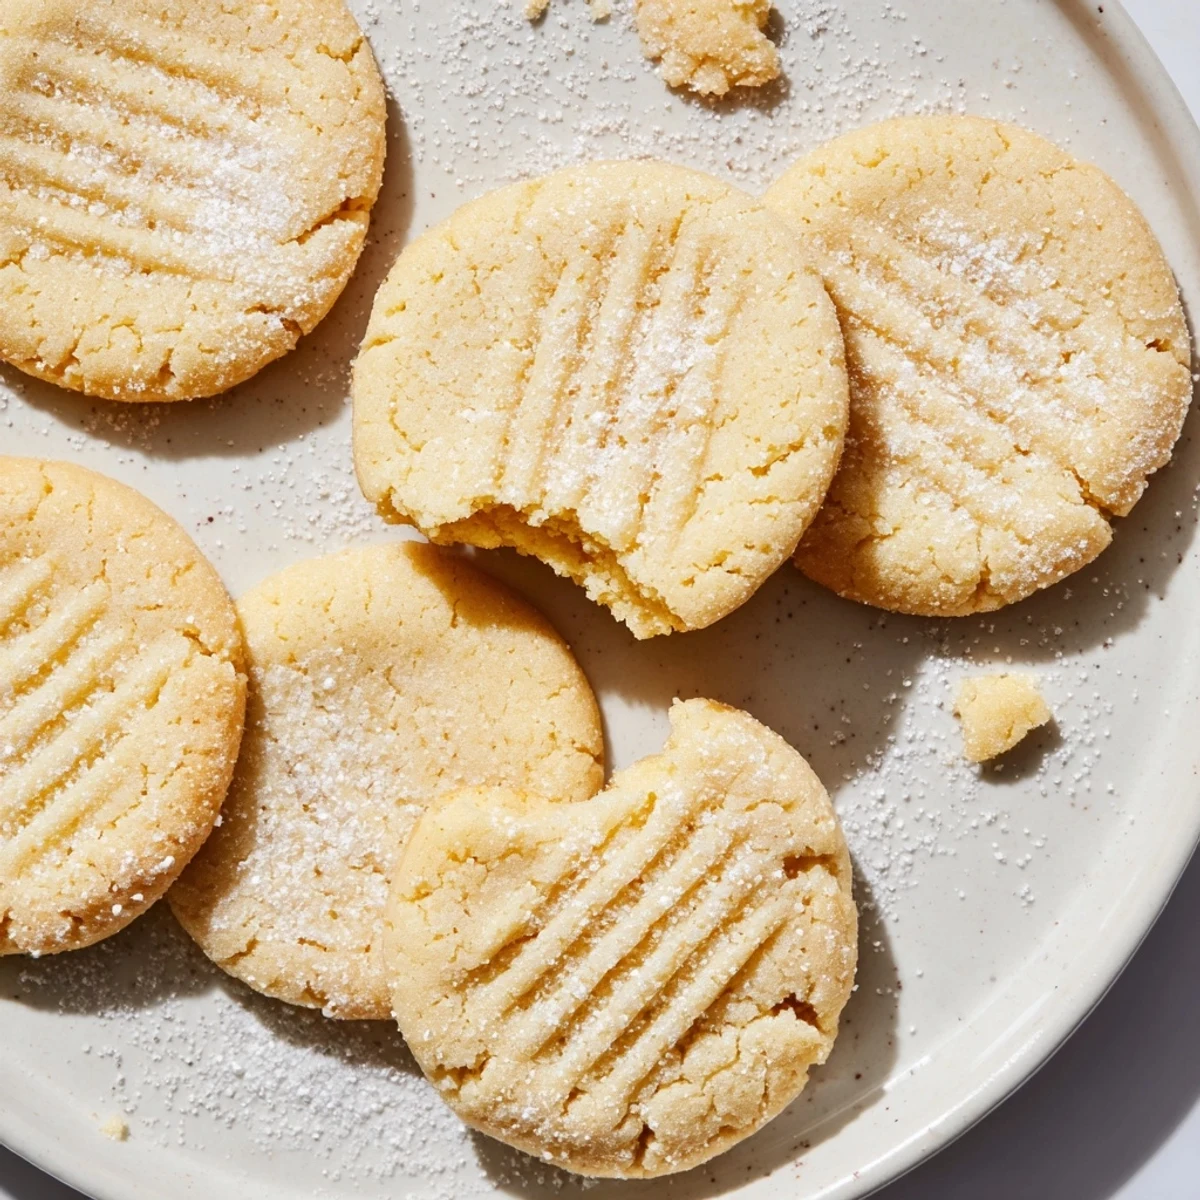 Pin It
 When my daughter asked to learn Grandmas recipe last weekend, she accidentally pressed the fork too hard on the first few cookies, making them almost flat. We laughed so hard and ate those imperfect ones warm from the oven, agreeing they somehow tasted even better.
The Secret To Perfect Fork Marks
Dip your fork in flour between each cookie to prevent sticking and create clean, defined ridges. Grandma kept a small bowl of flour on the counter specifically for this purpose.
Making Them Ahead
The dough freezes beautifully for up to three months—just roll it into balls first, then freeze on a baking sheet before transferring to a storage bag. Bake straight from frozen, adding one extra minute.
Serving Ideas For Every Occasion
These butter cookies are the ultimate chameleons of the baking world—simple enough for an ordinary Tuesday afternoon yet elegant enough for holiday gift boxes. I once served them at a bridal shower sandwiched with homemade raspberry jam, and the bride requested them for her wedding dessert table.
- Tuck them into cellophane bags tied with twine for effortless neighbor gifts.
- Crumble them over vanilla ice cream for an instant buttery crunch.
- Dip half in melted dark chocolate and let them set on wax paper for a café-style treat.
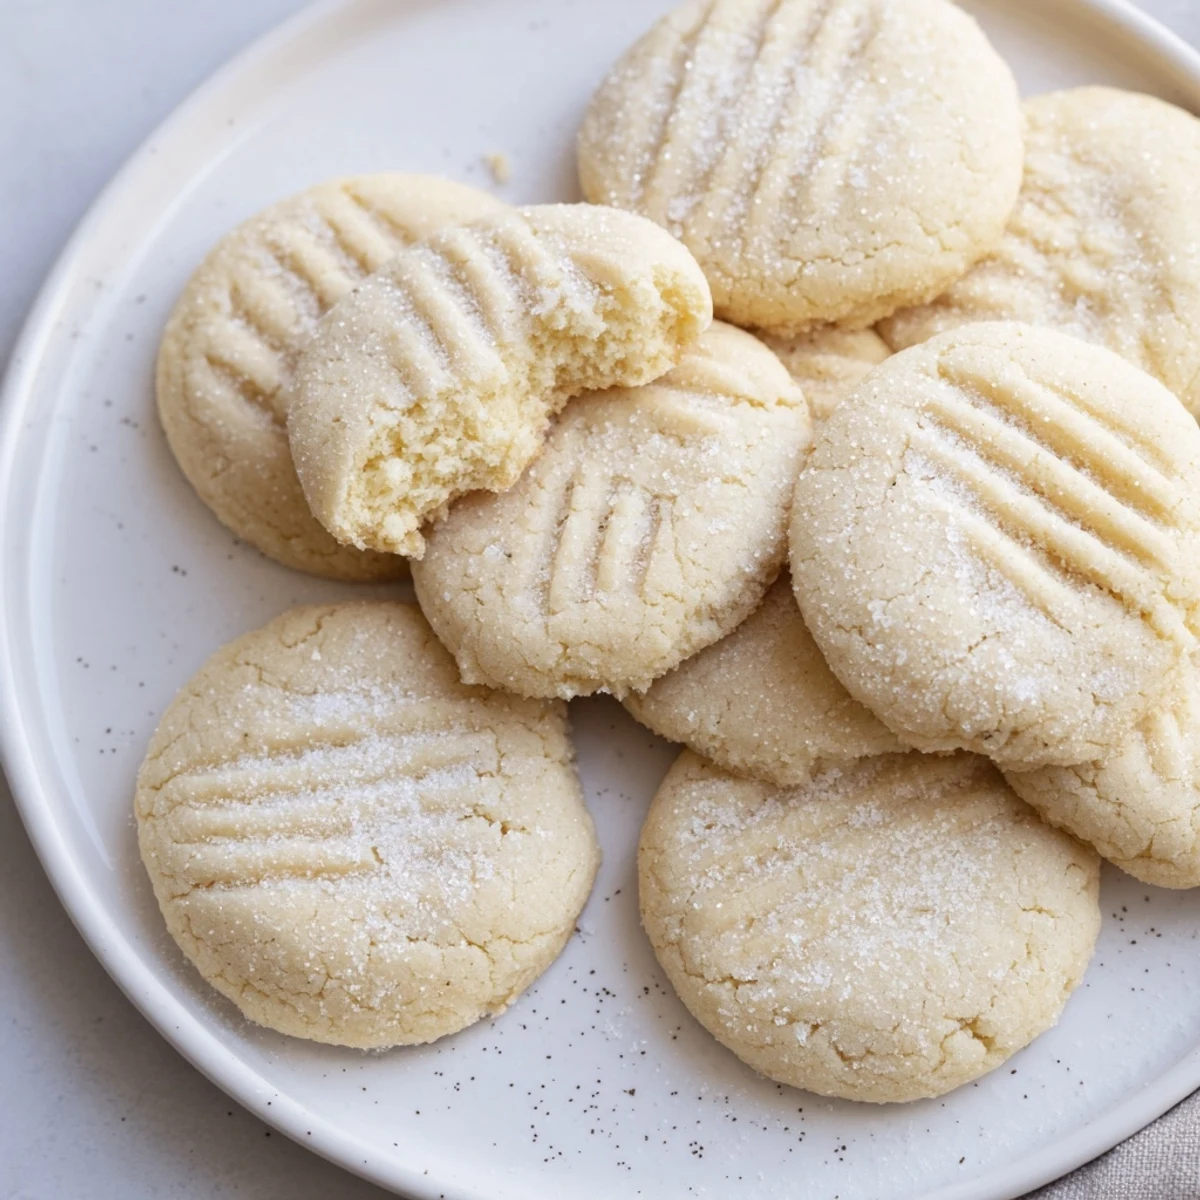 Pin It
 Every time I pull a fresh batch from the oven, that familiar buttery fragrance takes me right back to Grandmas kitchen. Some recipes are just meant to be passed down through generations of flour-dusted hands and happy hearts.
Recipe FAQs
- → What makes these cookies so tender?
-
The high butter content combined with proper creaming technique creates an exceptionally tender texture. Beating butter and sugar until fluffy incorporates tiny air pockets, while using just egg yolk (rather than whole egg) reduces structural protein for a more delicate crumb.
- → Can I make the dough ahead of time?
-
Absolutely. The dough can be wrapped tightly and refrigerated for up to 3 days or frozen for a month. Let chilled dough soften slightly at room temperature before rolling into balls for easier handling.
- → Why shouldn't I overbake these cookies?
-
Overbaking leads to crisp, hard cookies rather than the desired melt-in-your-mouth texture. Remove them from the oven when edges just begin turning golden—they continue firming slightly during the 5-minute cooling period on the baking sheet.
- → What's the purpose of the fork or glass pressing?
-
Gentle flattening helps cookies bake evenly and creates appealing ridges. This step also controls spread, ensuring uniformly shaped rounds rather than irregular puddles. Don't press too firmly—just enough to create a slight indentation.
- → How should I store these cookies?
-
Keep in an airtight container at room temperature for up to a week. For longer storage, freeze undusted cookies between layers of parchment paper. Thaw frozen cookies overnight at room temperature, then add powdered sugar dusting just before serving.
- → Can I double this batch?
-
Yes, the recipe scales beautifully. Double all ingredients for a larger yield. You may need to bake in batches depending on your baking sheet size. The dough also freezes well if you want to prepare extra for future baking sessions.
