 Pin It
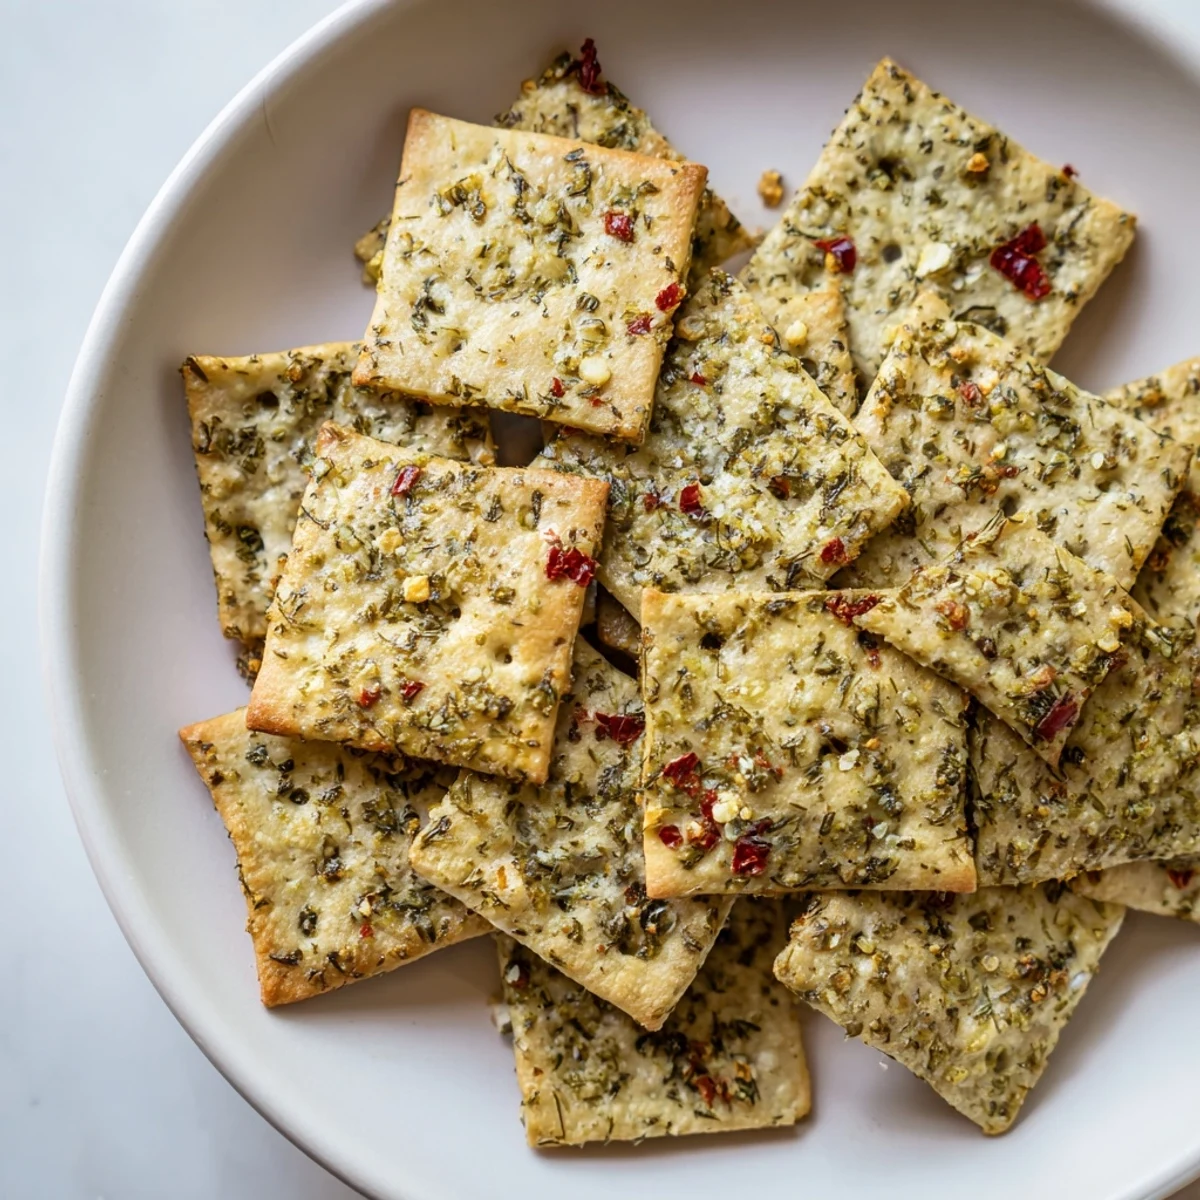
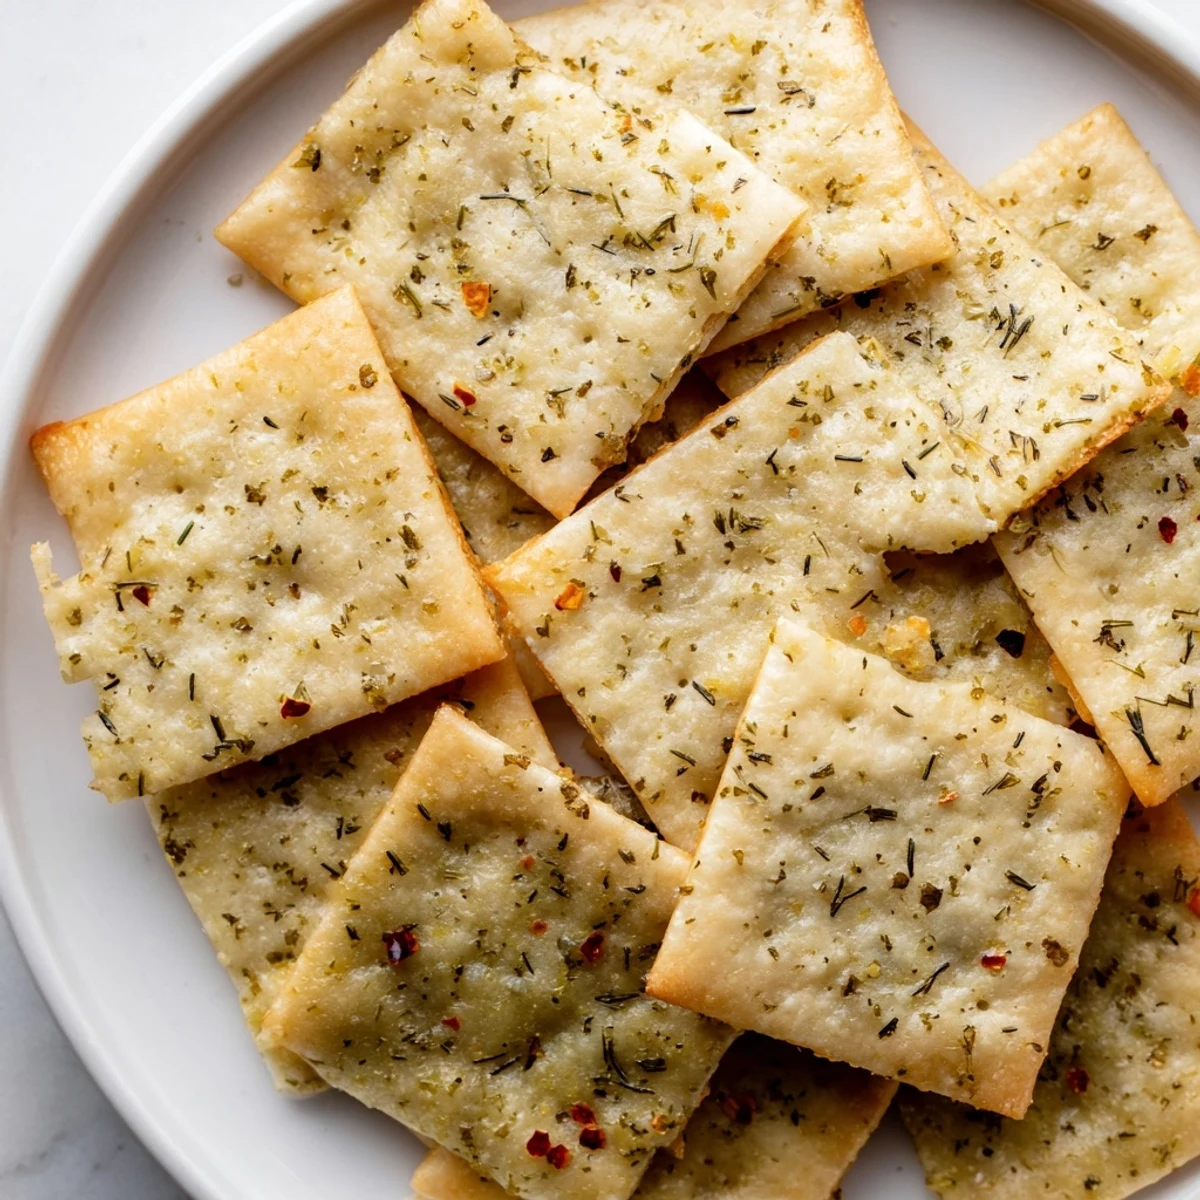
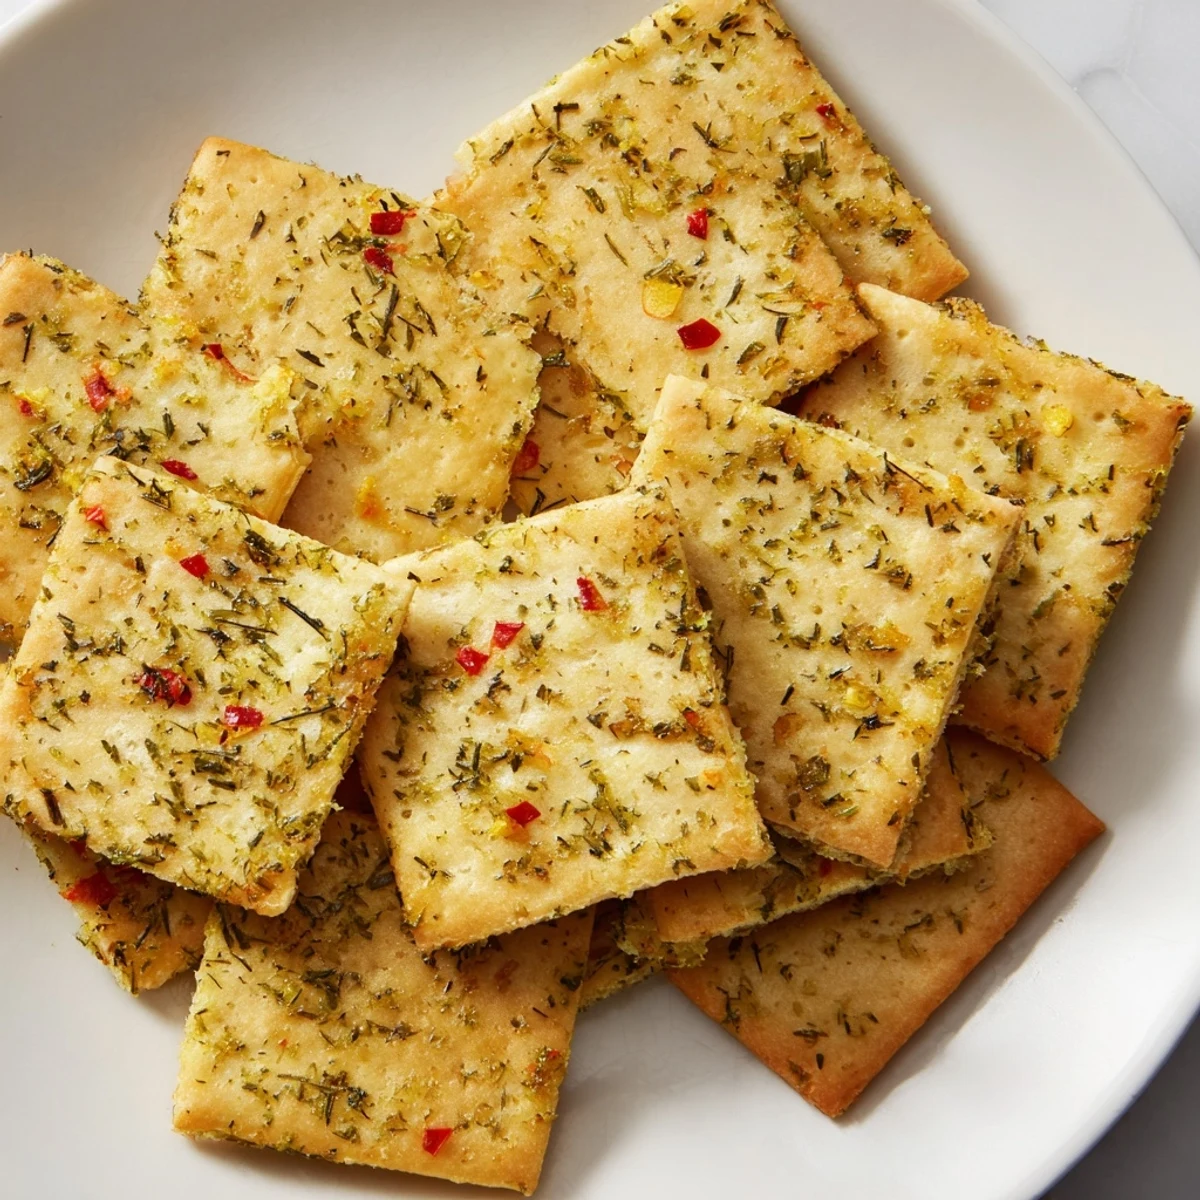
 Elevate ordinary saltine crackers into a tangy, irresistible snack with just 10 minutes of prep time. The combination of dill pickle juice, melted butter, garlic powder, and dried dill creates a bold coating that bakes into a crispy, flavorful treat perfect for entertaining or casual snacking.
My college roommate Sarah stumbled into our dorm kitchen at 2am holding a jar of pickles and a box of saltines, announcing she had discovered the greatest snack combination known to humanity. I thought she had lost her mind until she actually made me try them. That late night kitchen experiment became our go-to study fuel for the next three years.
Last summer I brought a batch to a neighborhood potluck, genuinely worried they were too simple for such a nice gathering. By the time I returned from getting my drink, the platter was empty and three different people had asked for the recipe. Sometimes the humblest foods are the ones that disappear fastest.
Ingredients
- Saltine crackers: One sleeve gives you about 40 crackers, perfect for a single batch
- Unsalted butter: Melted butter carries the pickle flavor better than oil ever could
- Dill pickle juice: The soul of this recipe, use juice from your favorite jar
- Dried dill weed: Fresh dill works beautifully but dried keeps well in the pantry
- Garlic powder: Adds that savory depth that makes these impossible to stop eating
- Onion powder: Works quietly alongside the garlic for a rounded flavor
- Red pepper flakes: Optional but lovely if you want a gentle warmth
- Kosher salt: Adjust based on how salty your crackers already are
Instructions
- Prep your baking station:
- Preheat oven to 300°F and line a large baking sheet with parchment paper for easy cleanup.
- Arrange the crackers:
- Spread the saltine crackers in a single layer, giving each one space to crisp up properly.
- Make the coating:
- Whisk together melted butter, pickle juice, dill, garlic powder, onion powder, red pepper flakes and salt until completely blended.
- Coat generously:
- Brush or spoon the mixture over every cracker, making sure none get left plain.
- Bake until crisp:
- Bake for 12 to 15 minutes until the crackers are golden and the coating feels dry to the touch.
- Cool completely:
- Let them cool on the pan so they crisp up further, then serve immediately.
 Pin It
 My dad now requests these every Sunday during football season, claiming they are better than any restaurant appetizer he has ever tasted. Watching my skeptical father become obsessed with pickled crackers has been one of the great joys of my cooking life.
Serving Suggestions
Cold beer is the classic pairing here, but sparkling water with lemon works beautifully if you are keeping it light. I have also served them alongside a bowl of whipped cream cheese for guests who want something creamy to balance the tang.
Storage Wisdom
These stay crisp for about three days in an airtight container, though I have never personally tested that theory because they vanish so quickly. If they do soften slightly, a quick 5 minute toast in the oven brings back their snap.
Flavor Variations
Sprinkle grated parmesan over the crackers before baking for a savory umami kick. A pinch of everything bagel seasoning transforms them entirely. Try swapping pickle juice for everything bagel seasoning mix.
- Mix ranch powder into the coating mixture for a dill ranch version
- Add a tablespoon of everything bagel seasoning to the butter blend
- Use spicy pickle juice if you want extra heat without the red pepper flakes
 Pin It
 These dill pickle saltines have become my emergency contribution to every gathering, never failing to spark conversation and disappear before the main courses arrive. Sometimes the simplest recipes are the ones we remember most fondly.
Recipe FAQs
- → How long do dill pickle saltines stay fresh?
-
Store in an airtight container at room temperature for up to 3 days. They may lose some crispness over time but remain flavorful.
- → Can I make these spicy?
-
Yes, add the optional crushed red pepper flakes or increase the amount to your taste preference for extra heat.
- → What can I serve with dill pickle saltines?
-
These pair well with cold beer, sparkling water, or as a side to sandwiches and soups. They're also great alongside cheese plates.
- → Can I use fresh dill instead of dried?
-
Absolutely. Use 2 tablespoons of chopped fresh dill in place of 1 tablespoon dried for a brighter, more vibrant flavor.
- → Can I make these gluten-free?
-
Yes, substitute gluten-free crackers for the saltines and use dairy-free butter to accommodate both dietary restrictions.
- → How do I know when they're done baking?
-
The crackers are ready when they're crisp to the touch and the coating looks set and slightly golden, typically 12–15 minutes at 300°F.
