 Pin It
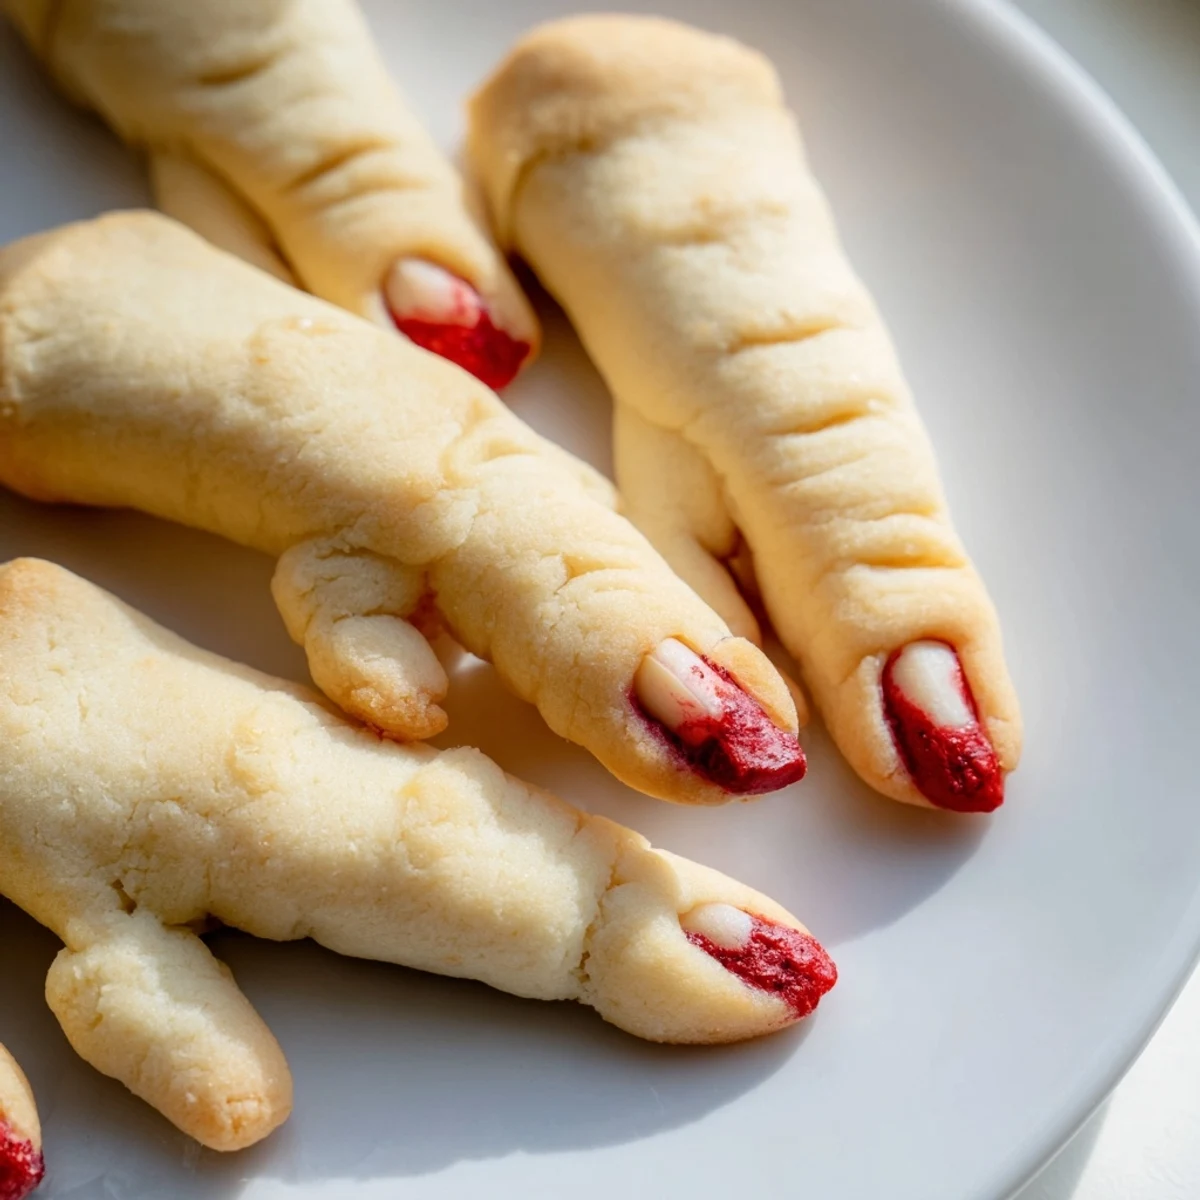
 Frightfully fun almond-flavored cookies shaped like witch fingers — perfect for Halloween parties and spooky gatherings. These creepy treats feature buttery vanilla-almond dough rolled into finger shapes, complete with knuckle details and blanched almond fingernails. A touch of red gel or jam creates a gory effect that'll delight party guests. The dough comes together quickly and bakes in just 20 minutes for an easy yet impressive addition to your Halloween dessert spread.
The first Halloween I made these, my roommate walked into the kitchen, let out a genuine scream, and dropped her grocery bags. She thought I'd actually bought severed fingers from some specialty prop shop. We ended up taking them to a party where people were genuinely hesitant to eat them until someone finally took that first suspicious bite.
Last year I brought a platter to my nieces school Halloween carnival and watched fascinated as a line of second graders debated whether they were brave enough to try them. One little boy whispered to me that he only ate them because I promised they weren't real fingers, then proceeded to ask for three more. Now they request them every October.
Ingredients
- Unsalted butter: Softened properly means you can press it with your finger and leave an indentation, but it should still feel cool to the touch
- Granulated sugar: Creaming this thoroughly with the butter creates those tiny air pockets that make the cookies tender rather than tough
- Large egg: Bring it to room temperature so it incorporates evenly into the dough instead of curdling the butter mixture
- Vanilla and almond extracts: The almond gives these a sophisticated flavor that surprises people expecting sugar cookies
- All purpose flour: I measure this by spooning it into the cup and leveling off, not scooping directly, which prevents dense dough
- Baking powder: Just enough to give them a subtle lift without spreading too much into puddles
- Salt: Dont skip this even though its a sweet treat it makes all the flavors pop
- Blanched almonds: Look for ones without skins for that creepy translucent nail look
- Red gel or jam: Gel gives you that shiny fresh blood look while jam creates a dried effect both work beautifully
Instructions
- Get your oven ready:
- Preheat to 325°F and line two baking sheets with parchment paper this prevents sticking and makes cleanup effortless
- Make the cookie base:
- Beat that softened butter and sugar until the mixture turns pale and fluffy, then add the egg and extracts until everything is smoothly combined
- Combine the dry ingredients:
- Whisk the flour, baking powder, and salt in a separate bowl so you dont end up with pockets of baking powder in your final cookies
- Bring it all together:
- Gradually mix the dry ingredients into the wet just until the dough forms—overmixing at this stage makes tough cookies
- Shape those fingers:
- Scoop about a tablespoon of dough and roll it between your palms into cylinders about 3 to 4 inches long, making them slightly uneven for realism
- Add the creepy details:
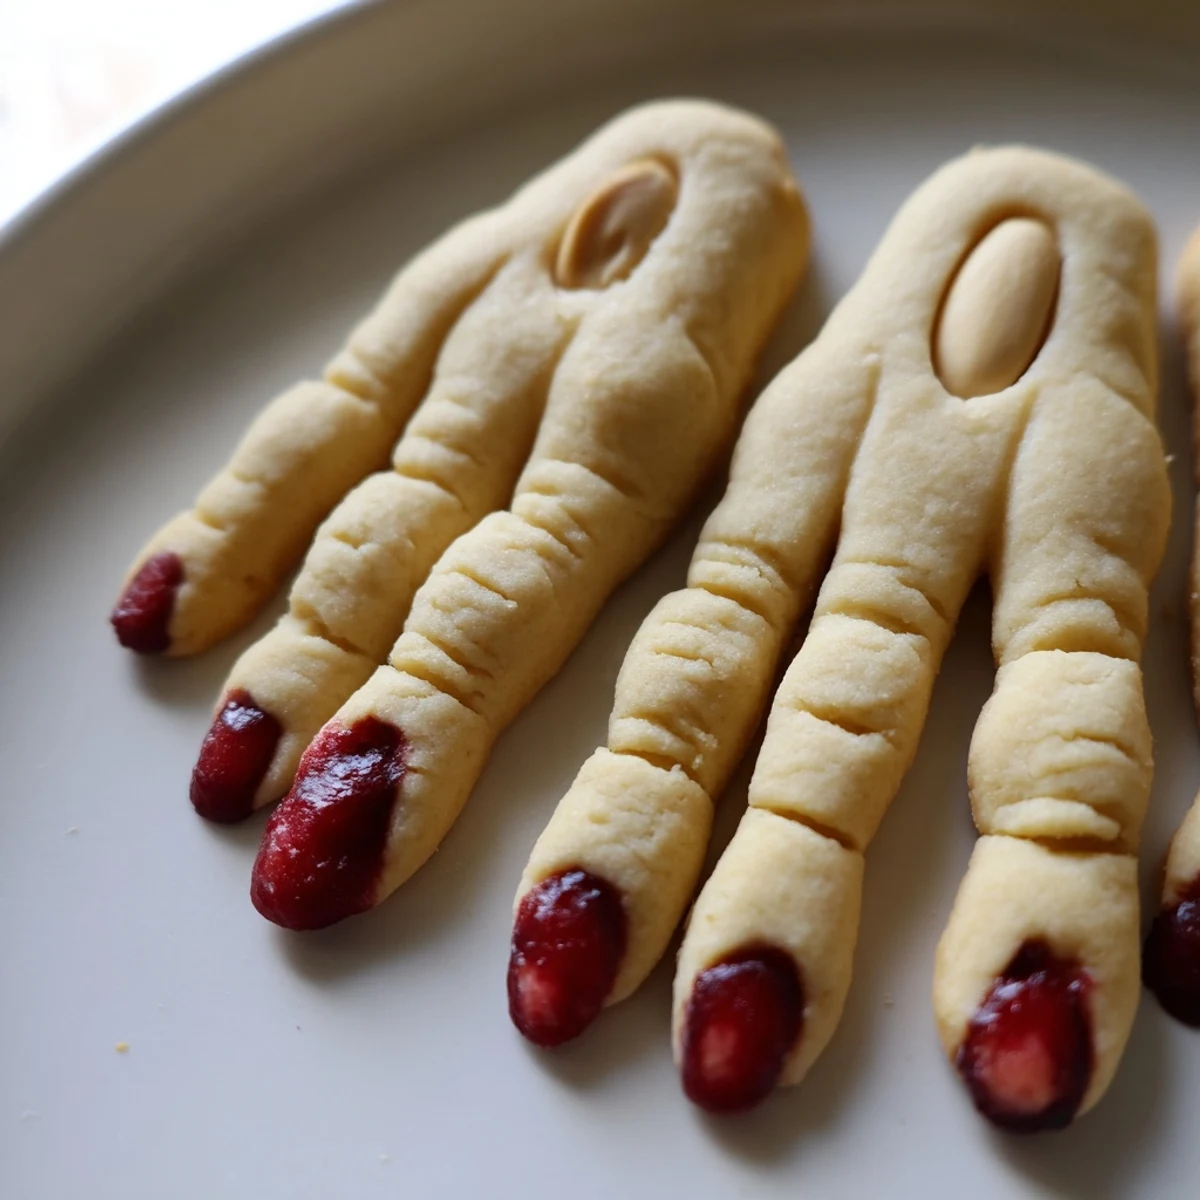
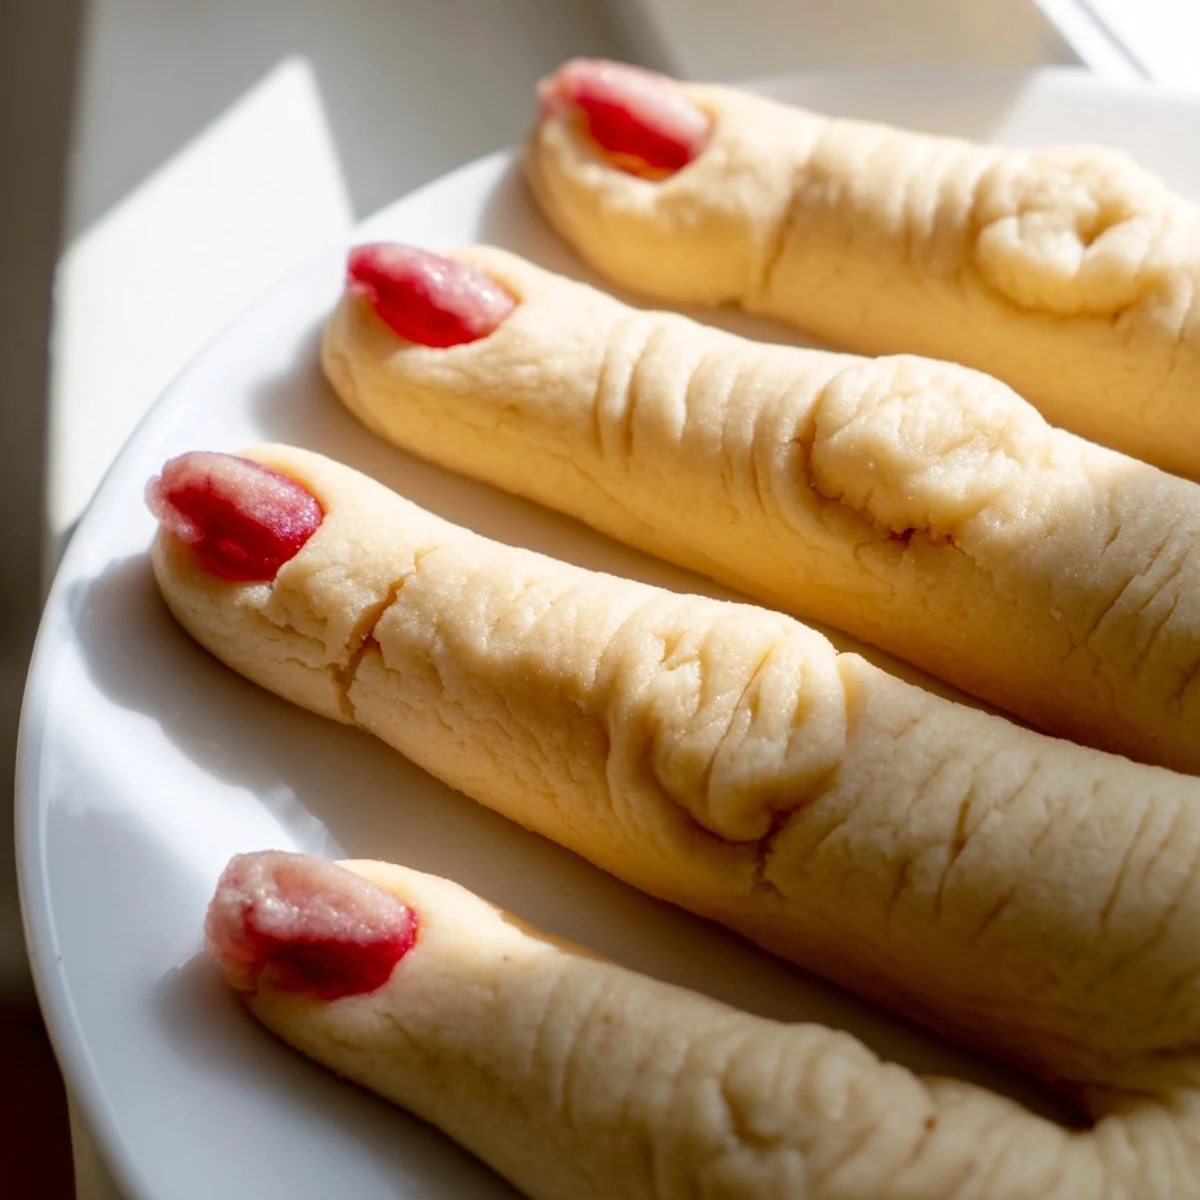
- Use a knife to make knuckle wrinkles on one side and gently press an almond onto the tip for the fingernail
- Bake until golden:
- Arrange them 2 inches apart on your prepared sheets and bake for 18 to 20 minutes until they're just barely golden around the edges
- Create the bloody effect:
- Carefully remove the almonds, dab red coloring or jam where they sat, then press them back in place
- Let them cool completely:
- This allows them to set properly and prevents the almond fingernails from falling off when you serve them
 Pin It
 My favorite moment was watching my usually skeptical father actually pick one up, examine it with theatrical suspicion, and then declare these the best Halloween treat he'd ever had. Now he asks weeks in advance whether I'm making them again.
Making Them Extra Spooky
I've learned that tinting small portions of dough with pale green or gray food coloring adds that graveyard freshness that makes people do a double take. You can even make some fingers slightly curved or bent for that truly unsettling effect.
Serving Suggestions
These absolutely shine when arranged on a dark platter or cutting board, maybe scattered around some plastic spiders or served with a bowl of bloodred punch. I once placed them in a vintage glass jar labeled specimen collection and people still talk about it.
Storage And Make Ahead Tips
The dough actually freezes beautifully so you can make and shape the fingers weeks ahead, then bake them fresh for your party. Just thaw them in the refrigerator before baking to maintain that perfect texture.
- Baked cookies keep well in an airtight container for up to five days
- You can add the bloody effect up to a day before serving without it looking dried out
- If the almond fingernails loosen over time, a tiny dab of fresh jam acts as glue
 Pin It
 There's something deeply satisfying about serving food that makes people laugh before they even take a bite. Happy haunting.
Recipe FAQs
- → How far ahead can I make witch finger cookies?
-
You can prepare the dough up to 2 days in advance and store it refrigerated. Shape and bake when ready. Once baked, they stay fresh for 4-5 days in an airtight container at room temperature.
- → Can I freeze witch finger cookies?
-
Yes! Freeze unbaked shaped fingers on a baking sheet until firm, then transfer to a freezer bag for up to 3 months. Bake from frozen, adding 2-3 minutes to baking time. You can also freeze baked cookies for 2-3 months.
- → What's the best way to create realistic knuckle lines?
-
Use a small sharp knife or the edge of a spoon to gently press horizontal lines where knuckles would be. Don't cut too deep — just enough to create texture. A toothpick works well for finer details.
- → What can I use instead of almonds for fingernails?
-
Sliced almonds work well for a different look. For nut-free versions, use white chocolate chips, candy melts shaped into ovals, or create indentations and fill with red jam only. Pumpkin seeds also make creepy alternatives.
- → How do I keep the cookies from spreading too much?
-
Chill the shaped fingers for 15-20 minutes before baking if your kitchen is warm. Don't overcream the butter and sugar. Measure flour accurately — too little causes spreading while too much makes them dry.
- → Can I color the dough for different effects?
-
Absolutely! Add green gel food coloring for witchy skin tones, or pale gray for zombie fingers. Use liquid coloring sparingly as it can affect dough consistency. Gel coloring works best for vibrant hues without changing texture.
