 Pin It
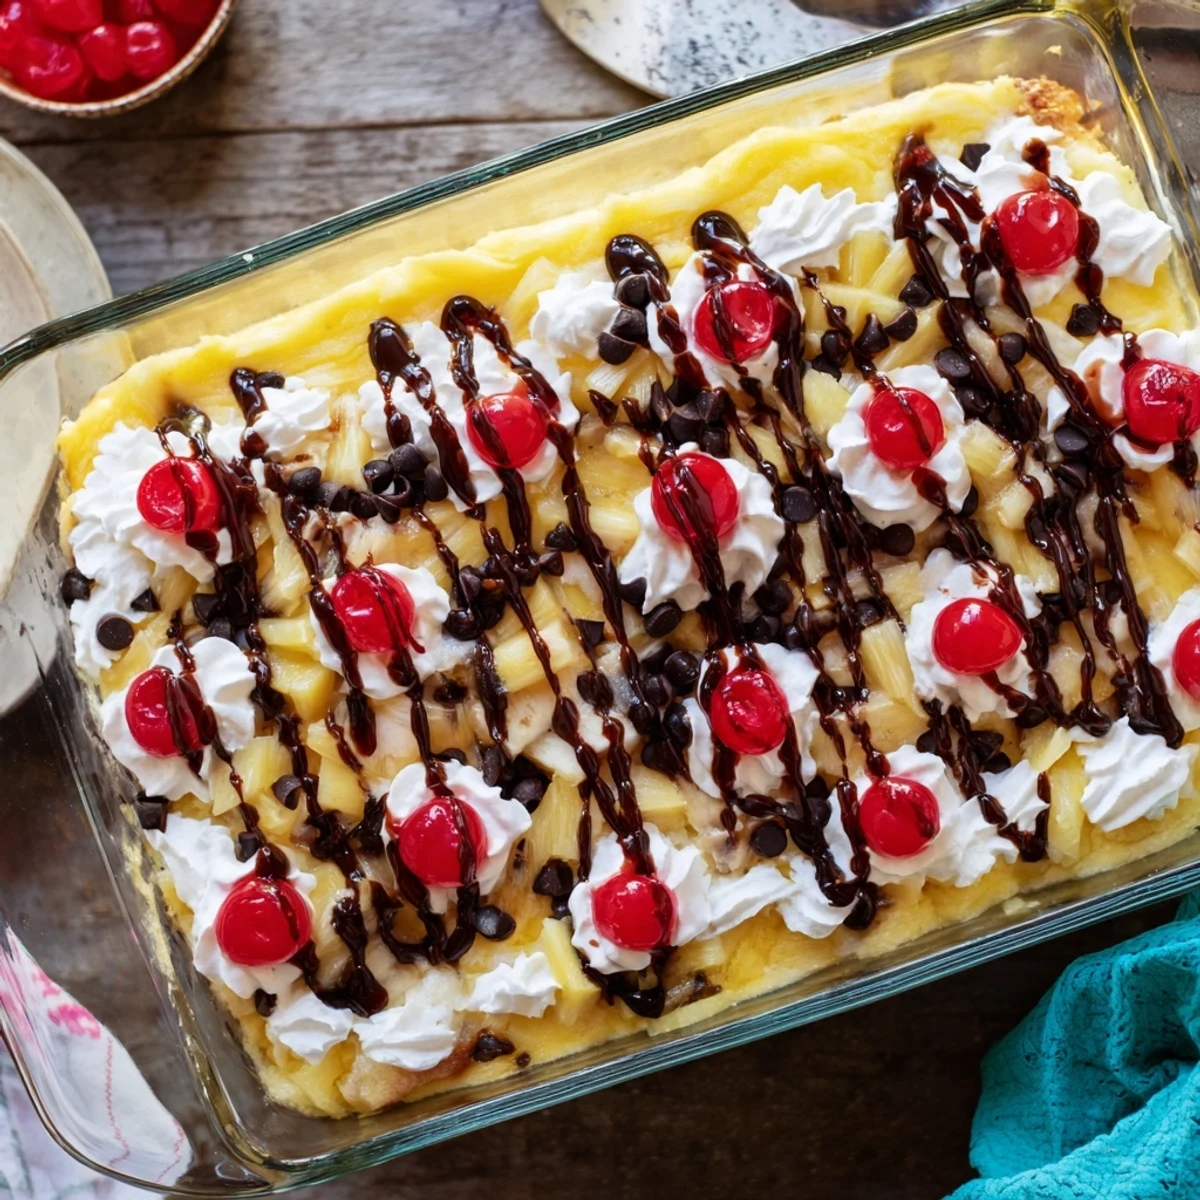
 Transform the nostalgic flavors of a banana split into an effortless baked dessert that's perfect for potlucks, family gatherings, or weeknight treats. Fresh sliced bananas form the foundation, topped with sweet crushed pineapple, tart maraschino cherries, and rich mini chocolate chips. A blanket of yellow cake mix and melted butter creates a golden, buttery crust that bakes up incredibly moist and tender. The fruit layers become warm and bubbling, creating those irresistible gooey pockets that make dump cakes so satisfying. Ready in about an hour with just 15 minutes of prep, this American classic serves eight generously and pairs beautifully with vanilla ice cream or fresh whipped cream for that extra touch of indulgence.
The kids had been begging me to make something fun for our Friday movie night, and I honestly just grabbed whatever was sitting in the pantry. That's how this banana split dump cake happened—a total kitchen experiment that somehow became the most requested dessert in our house. The butter sizzled and the kitchen filled with this incredible smell of tropical fruit meeting warm cake, and suddenly everyone was hovering around the oven door.
I brought this to my friend Sarah's summer potluck last year, figuring it was just something easy to contribute. Within twenty minutes, three different people had asked for the recipe, and Sarah's daughter actually went back for fourths—she told me later it tasted just like the banana splits her grandpa used to buy her after Little League games.
Ingredients
- 2 large ripe bananas, sliced: Go a little spotty on the bananas—they're sweeter and mash into the layers better
- 1 can (540 ml/19 oz) crushed pineapple, drained: Really press that liquid out or your cake gets soggy in the middle
- 1 cup maraschino cherries, halved: The juice stains everything, so maybe wear an apron you don't care about
- 1/2 cup mini chocolate chips: Mini ones distribute better than regular-sized chips
- 1 box (about 425 g/15 oz) yellow cake mix: No need for the fancy brands—plain ones work perfectly
- 1/2 cup (115 g) unsalted butter, melted: Let it cool slightly so it doesn't sear the cake mix
- 1 cup chopped walnuts or pecans, optional: Toast them first in a dry pan for way more flavor
- Whipped cream and chocolate syrup: These aren't optional—the contrast makes the whole thing work
Instructions
- Get your oven ready:
- Preheat to 175°C (350°F) and grease your 9x13-inch baking dish like your life depends on it
- Layer the fruit base:
- Spread bananas first, then pineapple, then scatter cherries and chocolate chips evenly
- Add crunch if you want:
- Sprinkle nuts over the fruit layer if you're using them
- Spread the cake mix:
- Pour the dry mix over everything and gently shake the pan to even it out
- Pour that butter:
- Drizzle melted butter slowly across the top so it soaks in evenly
- Bake until golden:
- 40–45 minutes until it's bubbling around the edges and browned on top
- Let it rest:
- Wait at least 15 minutes before serving or the filling will be too runny
 Pin It
 My niece called me the next morning after that potluck, sounding way too serious for a twelve-year-old, and asked if I could teach her how to make it for her mom's birthday. Something about how easy it was but still feeling special made her want to be the one bringing dessert this time.
Making It Your Own
Swap the yellow cake mix for chocolate if you want something darker and richer. I've done this when I need something more decadent, and the chocolate-banana combination is honestly next level. You can also skip the nuts entirely for anyone with allergies—still totally delicious.
Serving Ideas That Matter
Warm cake with a scoop of cold vanilla ice cream melting into the cracks is non-negotiable in my house. The temperature contrast makes all those fruity flavors pop. Sometimes I'll even serve it in bowls like an actual deconstructed banana split, letting people add their own toppings.
Storage and Make-Ahead Tips
This keeps surprisingly well in the fridge for about three days, though the texture does get a bit denser. You can assemble everything except the butter up to a day ahead, then just pour the melted butter on right before baking. The fruit releases more liquid the longer it sits though, so same-day is still best.
- Cover leftovers loosely with foil so the topping doesn't get soggy
- Reheat individual portions for 20 seconds in the microwave
- The butter step is the only thing you can't do ahead of time
 Pin It
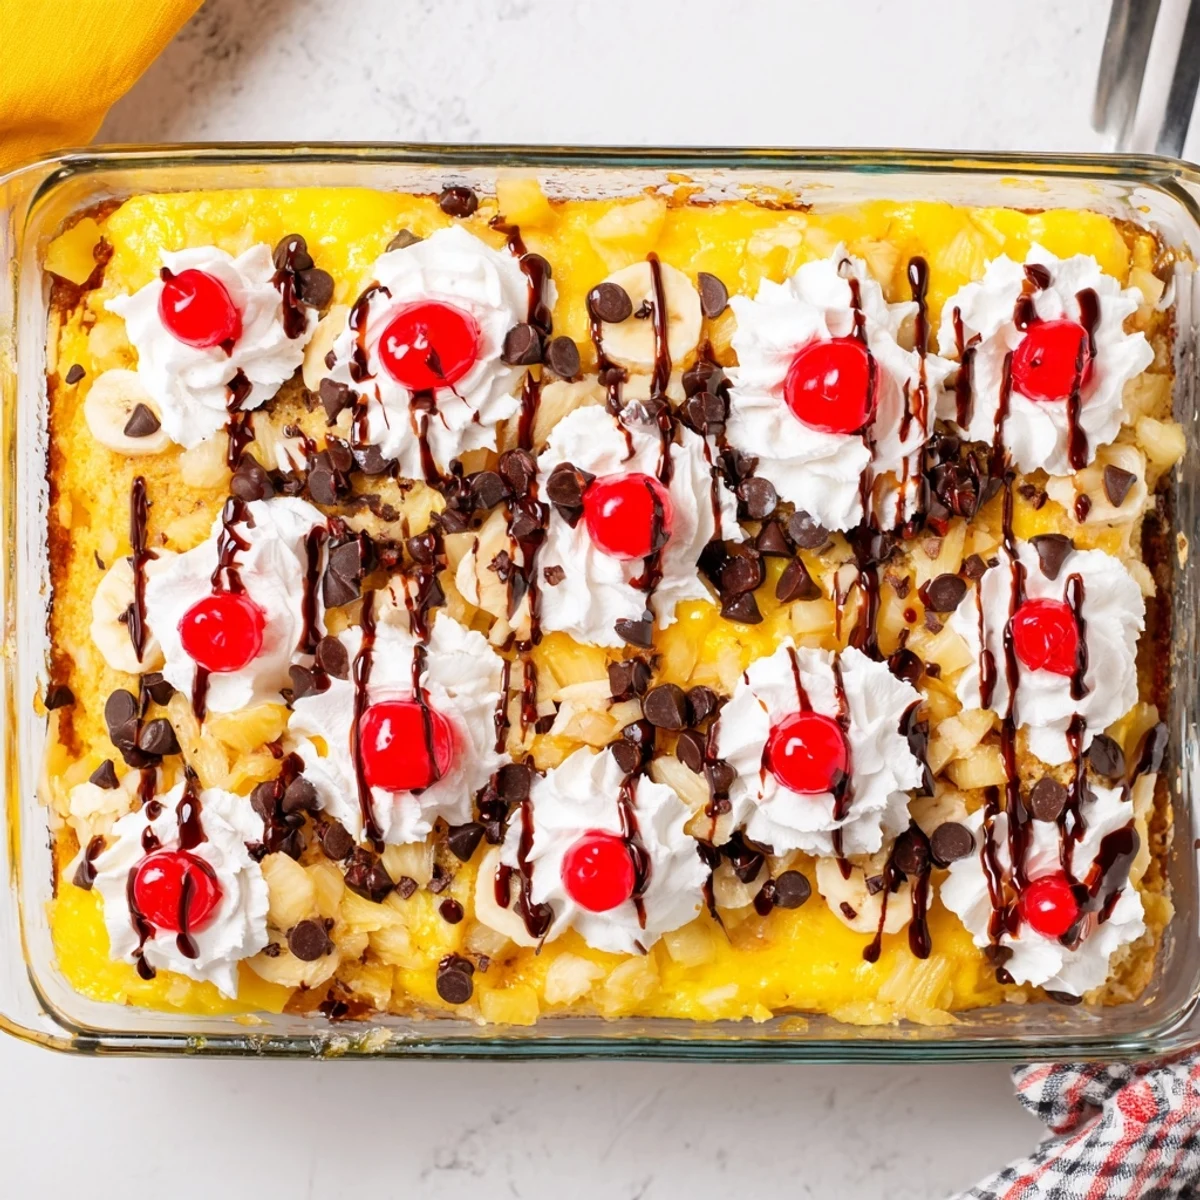
 Sometimes the easiest recipes end up being the ones everyone remembers. This dump cake started as a pantry cleanup experiment and became the dessert my family actually asks for by name.
Recipe FAQs
- → What makes this dessert different from a traditional cake?
-
This dump cake style dessert requires no mixing bowl—ingredients are simply layered in the baking dish. The dry cake mix creates a tender, buttery topping as it bakes into the fruit filling, resulting in a gooey, cobbler-like texture that's incredibly moist and rich.
- → Can I prepare this dessert ahead of time?
-
Assemble the entire dish up to 24 hours in advance, cover tightly, and refrigerate. Add an extra 5-10 minutes to the baking time since it will go into the oven cold. Alternatively, bake completely and reheat individual portions in the microwave.
- → What toppings work best with this warm dessert?
-
Vanilla ice cream creates a classic creaminess that balances the warm fruit, while freshly whipped cream adds light sweetness. A drizzle of chocolate syrup or caramel sauce enhances the indulgent factor, or sprinkle with toasted coconut for tropical flair.
- → How do I know when it's fully baked?
-
The top should be evenly golden brown with no dry patches of cake mix visible. You'll see the fruit filling bubbling up around the edges, and a toothpick inserted into the cakey areas should come out clean or with just a few moist crumbs.
- → Can I make this without nuts for allergies?
-
Absolutely—simply omit the walnuts or pecans entirely. The dessert still delivers excellent texture from the fruit and cake layers. For added crunch without nuts, consider sprinkling crushed graham crackers or toffee bits over the butter before baking.
- → What's the best way to store leftovers?
-
Cover tightly and refrigerate for up to 4 days. The flavors continue to meld and develop. Reheat individual portions in the microwave for 30-60 seconds until warm, or enjoy cold—the texture becomes denser and almost fudgelike when chilled.
